
In this article, we will discuss the basics of Angular CLI. Angular CLI provides an easy way to start with any Angular project. It comes with commands that help us to create and start the Angular project fastly. Let go through with the available commands. You need to setup the node js and npm to work with the CLI. You can get the node setup here as per your system compatibility.
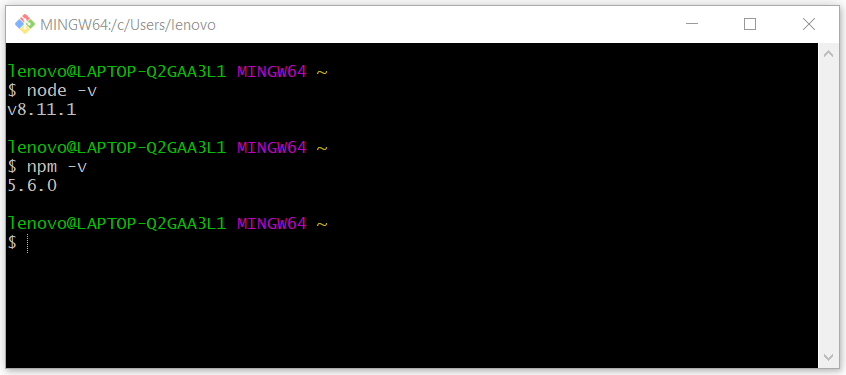
Let’s confirm the version of node and npm in working or not.
# Install Angular CLI
Firstly, we need to install the Angular CLI. You can use the given command:
npm install -g @angular/cli
After the successful installation, Angular CLI is ready for use.
# Create and run an Angular App.
ng new ngApp
cd ngApp
ng serve
In these commands first, we are creating a new angular app using “ng new projectName” command. Then using the basic “cd projectName” command to enter in the app folder. And using the “ng serve” command to execute the Angular application.
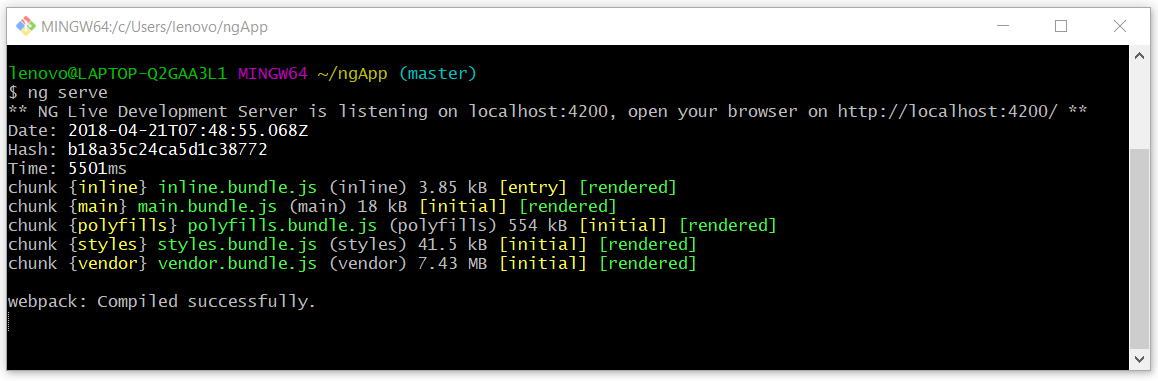
After executing the “ng serve”, NG Live development server is listening on “localhost:4200”.
We can change the port no as per the requirement, using the “–port” with the “ng serve” command.
ng serve --port 90
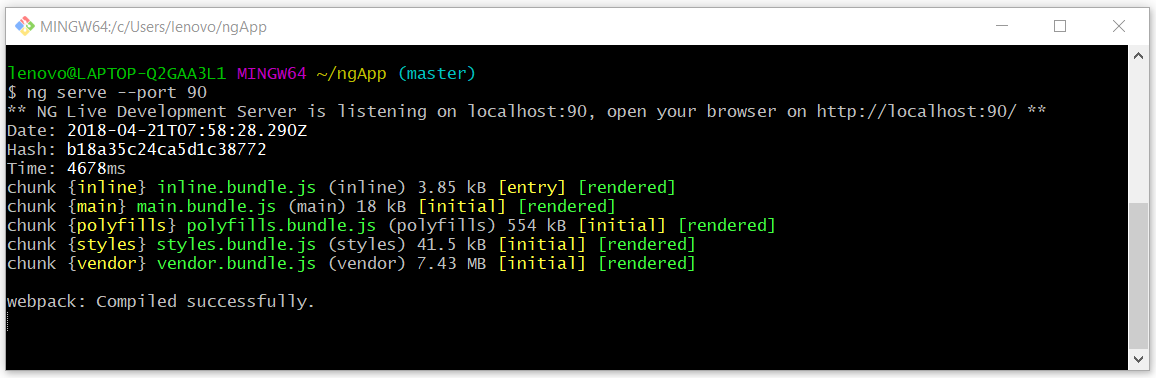
After executing the “ng serve” NG Live development server is listening on “localhost:90”.
# Generating Components, Directives, Pipes and Services
You can use the ng generate (or just ng g) command to generate Angular components:
ng generate component my-new-component
ng g component my-new-component # using the alias

# components support relative path generation
# if in the directory src/app/feature/ and you run

ng g component new-cmp

# your component will be generated in src/app/feature/new-cmp
# but if you were to run

ng g component ./newer-cmp

# your component will be generated in src/app/newer-cmp
# if in the directory src/app you can also run

ng g component feature/new-cmp

# and your component will be generated in src/app/feature/new-cmp
You can find all possible blueprints in the table below:
- Component: ng g component my-new-component
- Directive: ng g directive my-new-directive
- Pipe: ng g pipe my-new-pipe
- Service: ng g service my-new-service
- Class: ng g class my-new-class
- Guard: ng g guard my-new-guard
- Interface: ng g interface my-new-interface
- Enum: ng g enum my-new-enum
- Module: ng g module my-module
angular-cli will add the reference to components, directives, and pipes automatically in the “app.module.ts”.
If you need to add this references to another custom module, follow this steps:
// create a new module
ng g module new-module

// This should add the new component, directive or pipe reference to the new-module you've created.
ng g component new-module/new-component
We will discuss more on Angular CLI in our future post. Feel free to comment if any query.
If you like our content, please consider buying us a coffee.
Thank you for your support!
Buy Me a Coffee