In this article, we will discuss “How to Setup Apache, PHP & MySql on Windows 10″. When you are planning to install Apache, PHP & MySQL on Windows 10 machine, then We have two options to do this as given below:
- You can setup Xampp or Wamp server which enables all the feature as per our requirement.
- You can build your own fully functional Wamp server manually. In this, you have to install the Apache, MySql, and PHP manually.
I’m a Windows 10 user, so this tutorial is related to the Windows 10. Before starting the implementation, you need to read this article once.
Now, time to decide the versions we need to install. For this tutorial, I’m choosing the latest versions.
Table of Contents
Setup Apache, PHP & MySql on Windows 10
Setup Apache
You can download the Apache server from the official site. Then extract the downloaded zip folder as per your desired location. Now follow the given instruction to install the Apache2.4 in windows 10.
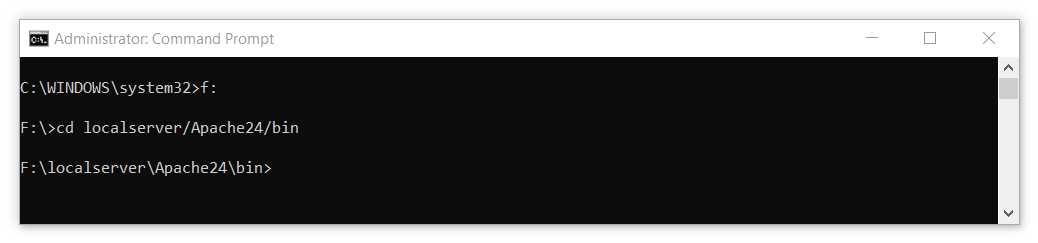
Step 1: Open the command prompt as Administrator. And open the Apache root directory.
Step 2: Time to update the “httpd.conf” config file located at “{Your directory path}/Apache24/conf”. Open the file and update the “SRVROOT”. I’m updating as per my directory setup.
Define SRVROOT "F:/localserver/Apache24"
Step 3: Setup the windows service. You can use the httpd -k install command to install the Apache2.4 service.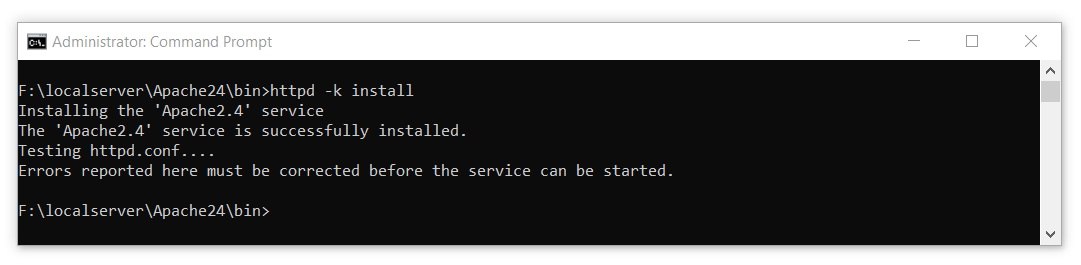
Step 4: After installing the service, you need to start the service. You can manage it from the windows service program. You need to open the “RUN” box using “Windows + R” key where you can type “services.msc” command to open the Service” program. Open the program and search Apache.
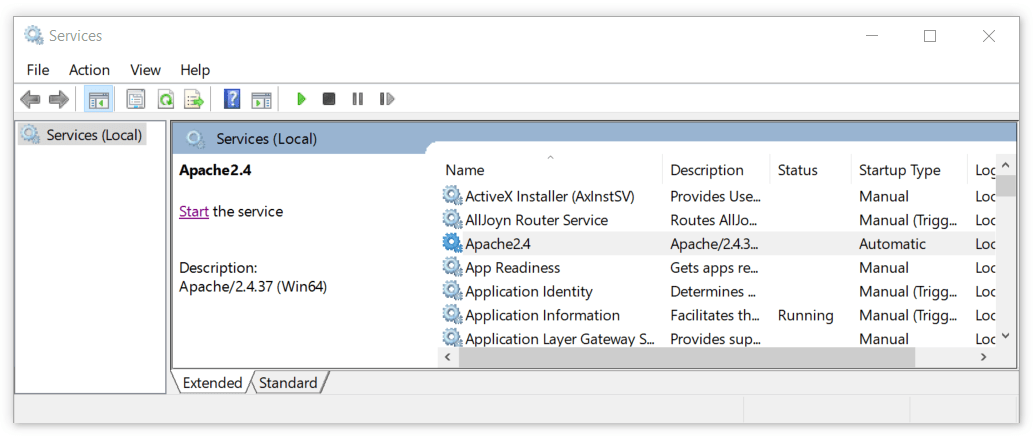
After that click on the “start” then Apache service is started. You can stop or restart the service in the same place.

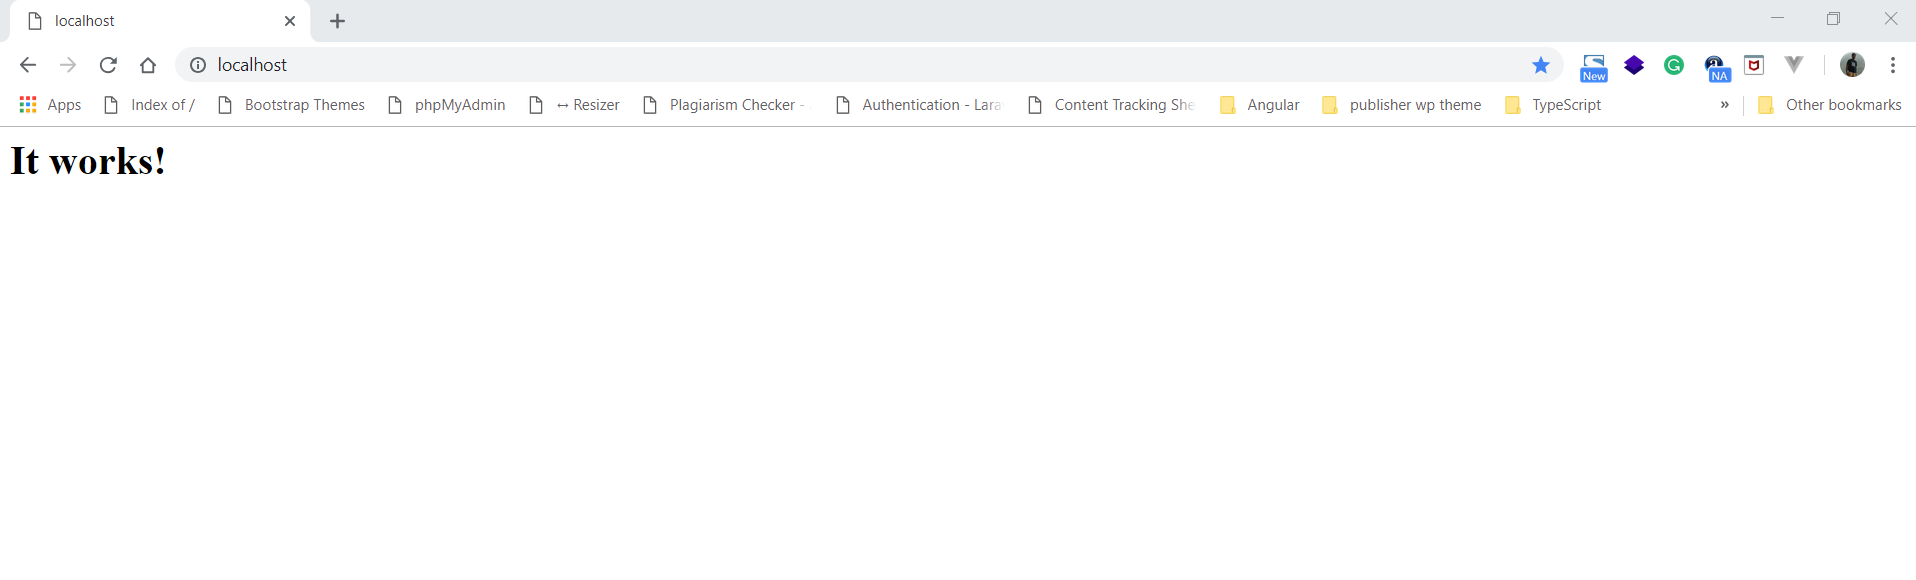
Step 5: Time to test the Apache. Open the browser and hit the localhost in the URL.
Setup PHP
Please download the latest PHP version from the official site. Then extract the downloaded zip folder as per your desired location. I recommend this to store PHP folder in the same location where you had setup the Apache Server. Now follow the given instruction to install the PHP and setup this with the Apache server.
Step 1: Rename php-ini-development.ini to php.ini.
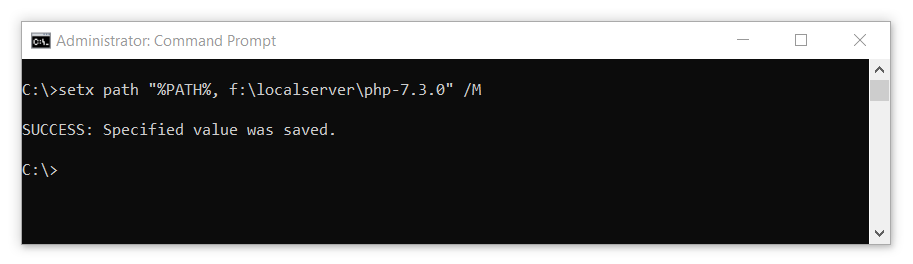
Step 2: Add PHP in system environment variable using “setx path” command at command prompt.
C:\>setx path "%PATH%, F:\localserver\php-7.3.0" /M
Step 3: Update the “httpd.conf” config file once again. Open the file and append the following snippet.
// Update the PHP directory path as per your setup.
PHPIniDir "F:/localserver/PHP-7.3.0"
AddHandler application/x-httpd-php .php
LoadModule php7_module "F:/localserver/PHP-7.3.0/php7apache2_4.dll"
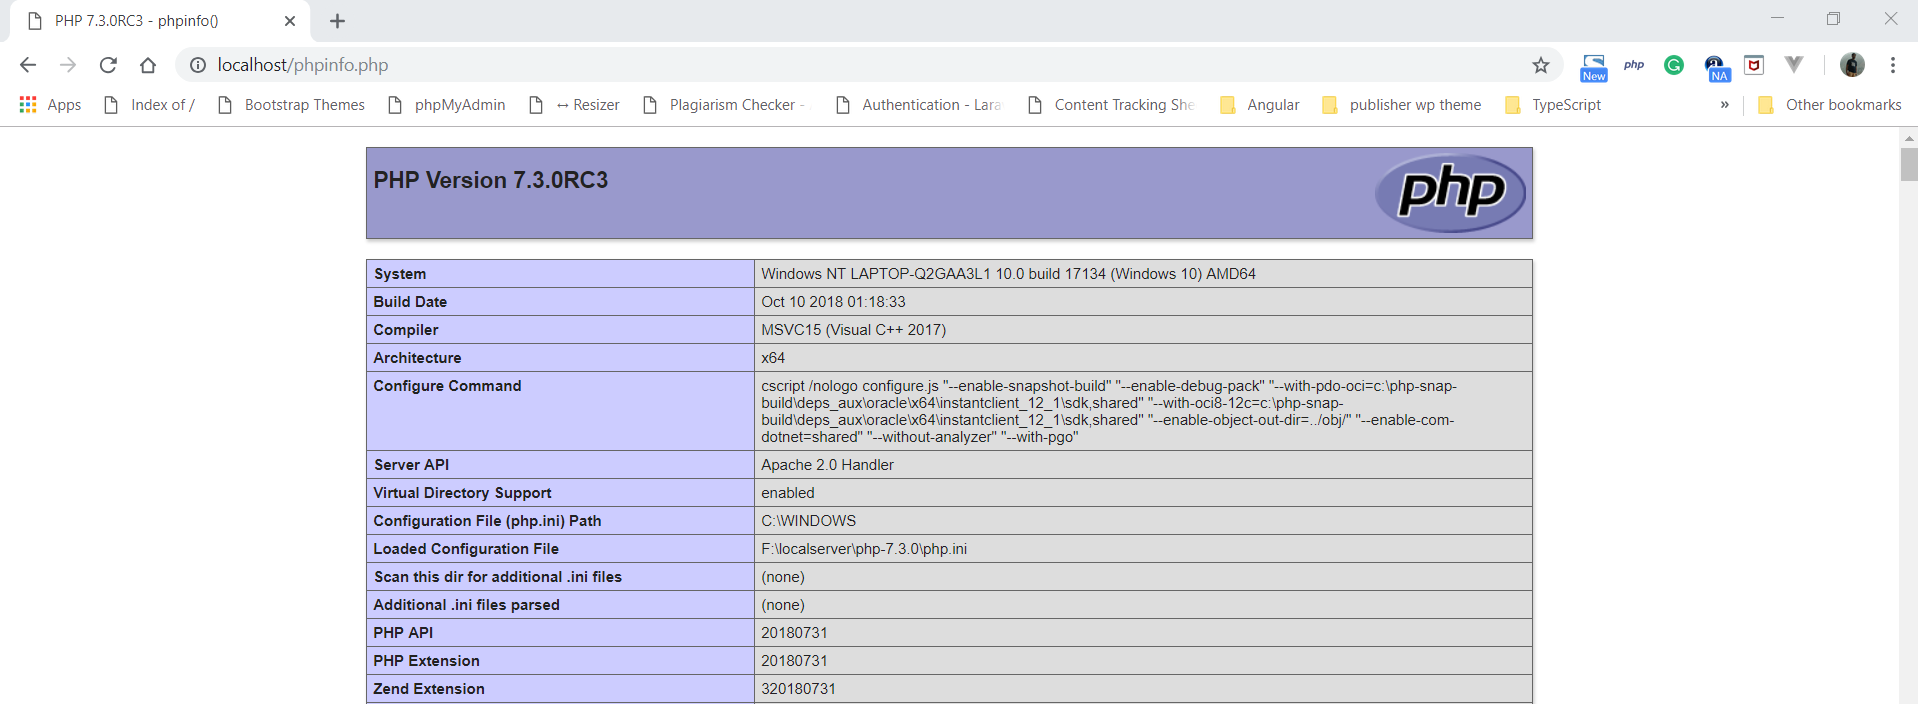
Step 4: Restart the “Apache2.4” service. After that create one testing PHP file under htdocs directory located at “{directory_path}/Apache24/”. Here I have created “phpinfo.php” page. At the end here the working PHP setup.
Setup MySQL Server
You need to download the latest version of MySQL Server from the official site. I’m choosing an installer setup for my windows 10. After download completion, you need to follow the steps given below:
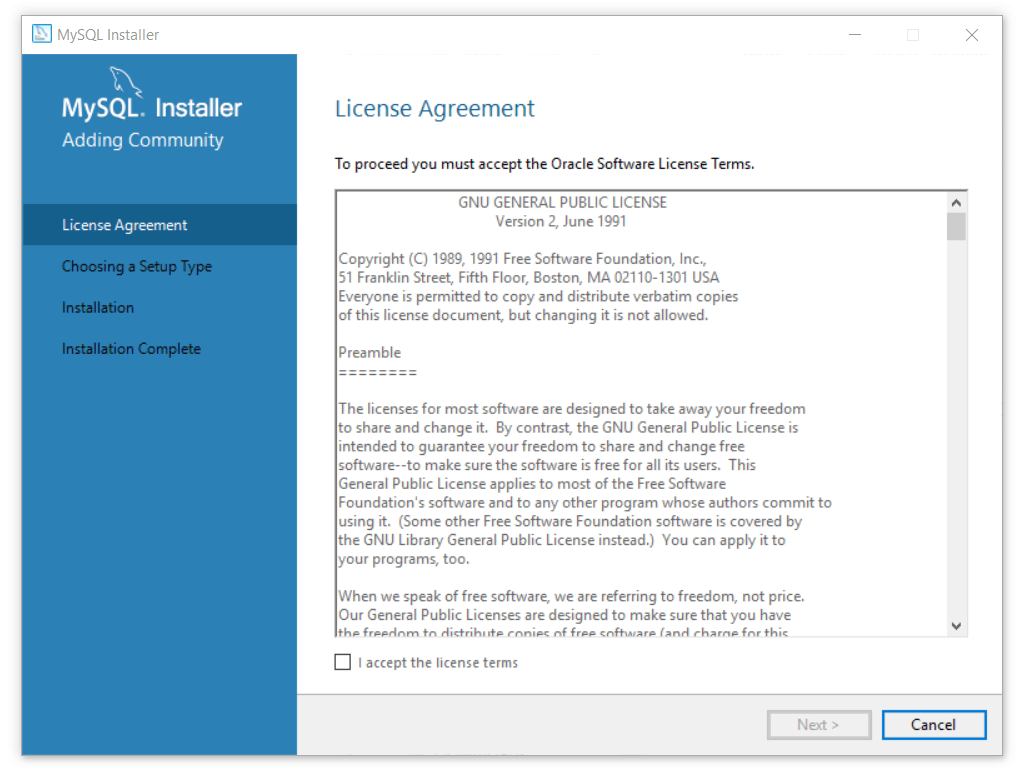
Step 1: Execute the installer, accept license agreement then click next.
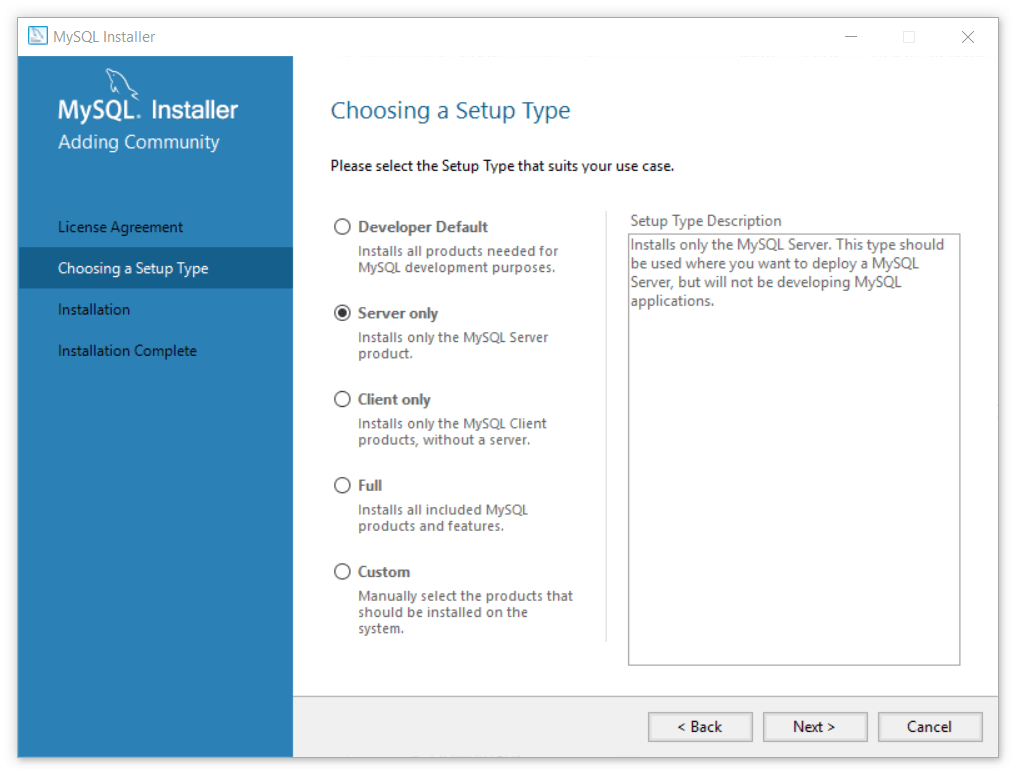
Step 2: Select the setup type, I’m choosing a server only. You can choose “Developer Default”, this includes more tools like workbench, connectors and etc if required.
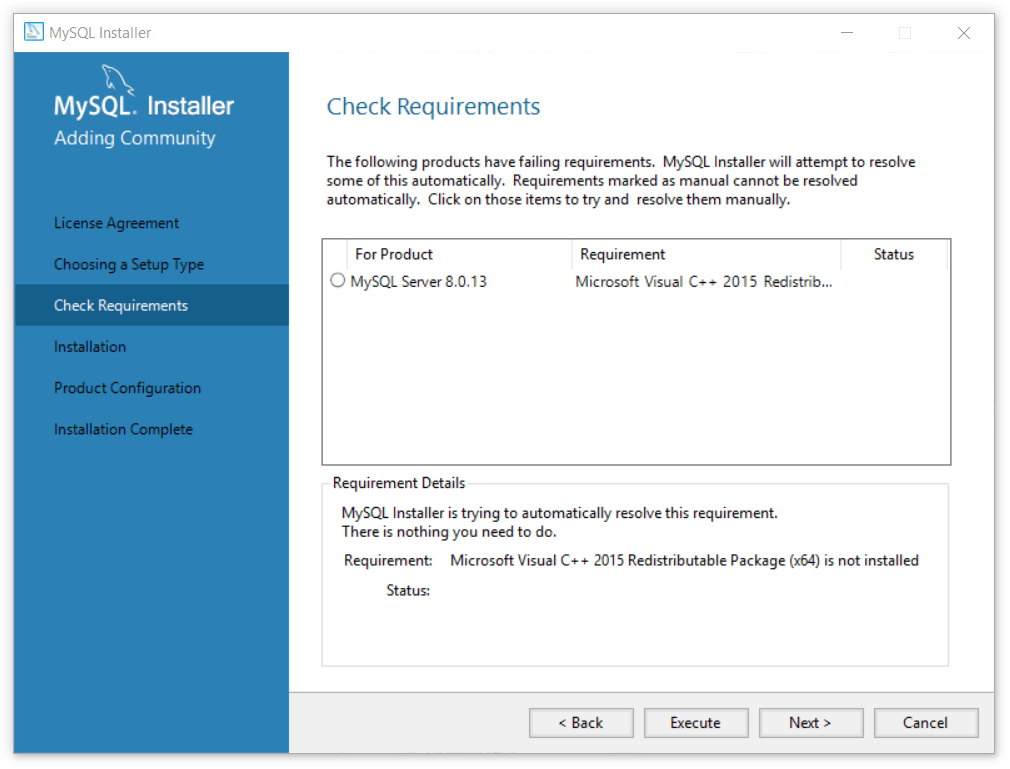
Step 3: In this step, we are checking requirements. Then click on the execute option.
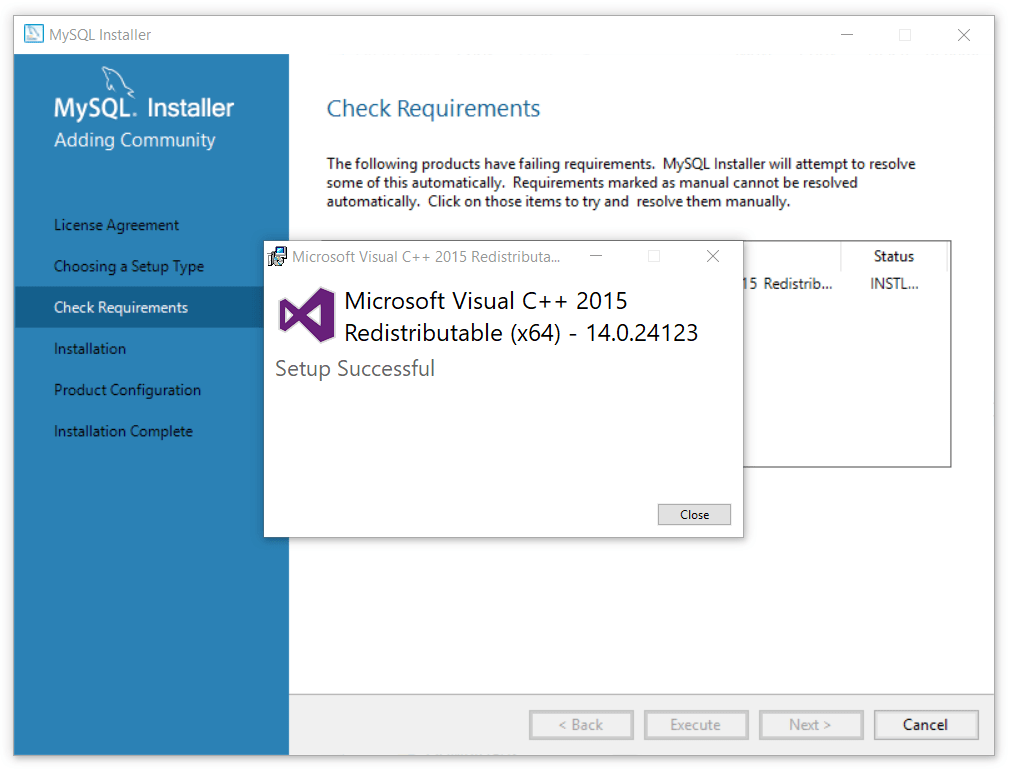
Step 4: After completing the required setup. Popup is shown you need to click on the close button on a popup.
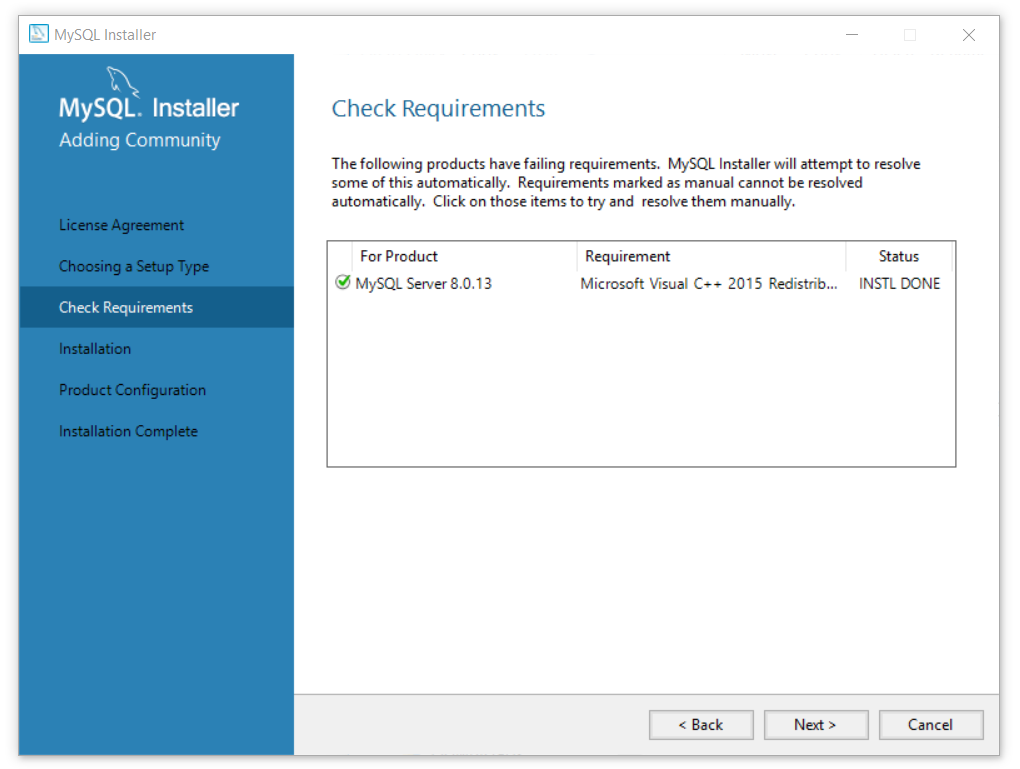
Step 5: After closing the popup, You have seen the green right tick on the requirement listed item. Just need to click on the next button.
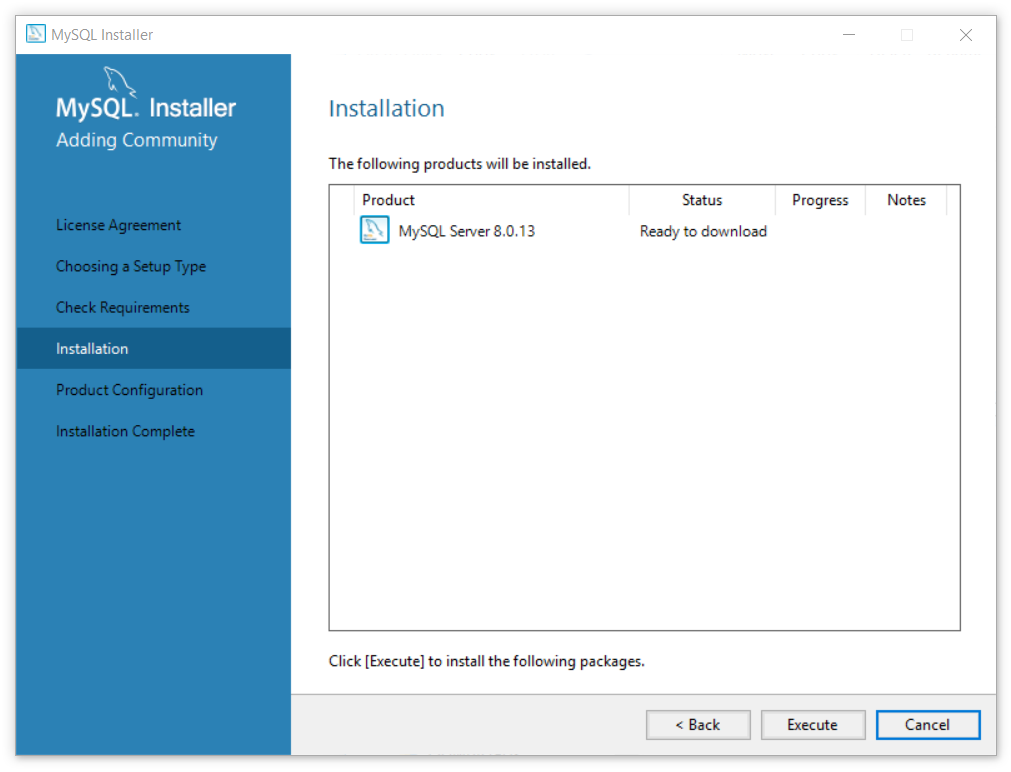
Step 6: All is done now. Here you need to execute the setup.
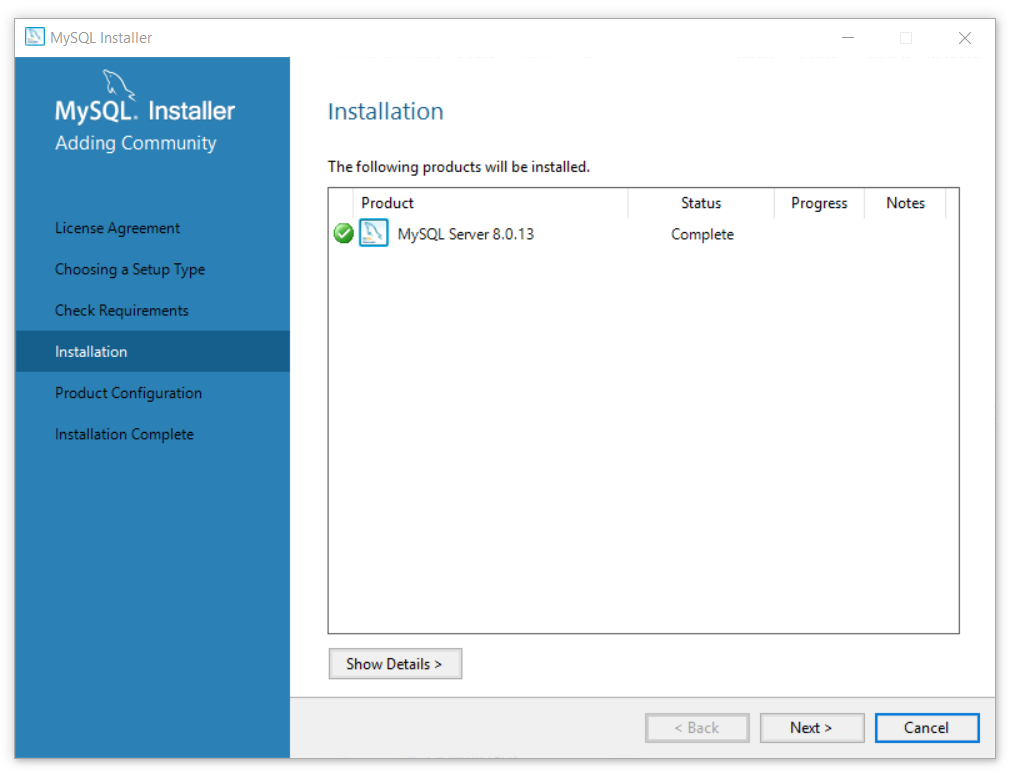
Step 7: Again you have seen the green right tick symbol on the listed item. You need to click on the next button.
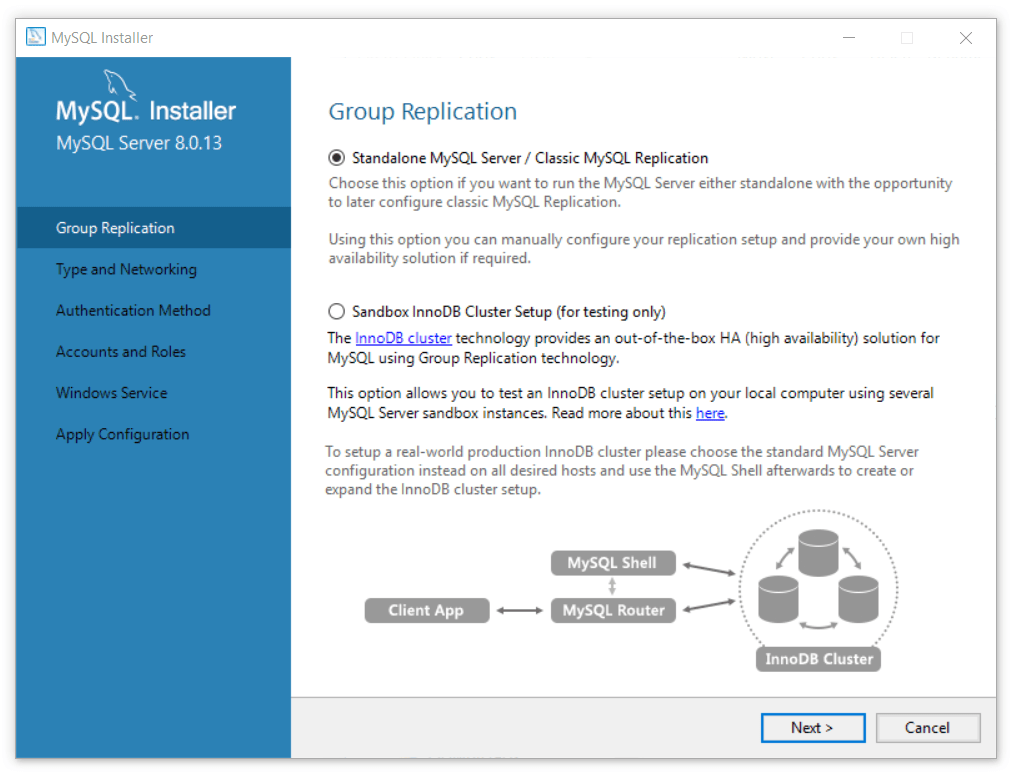
Step 8: Select the “Standalone MySQL Server” option. And click on the next button.
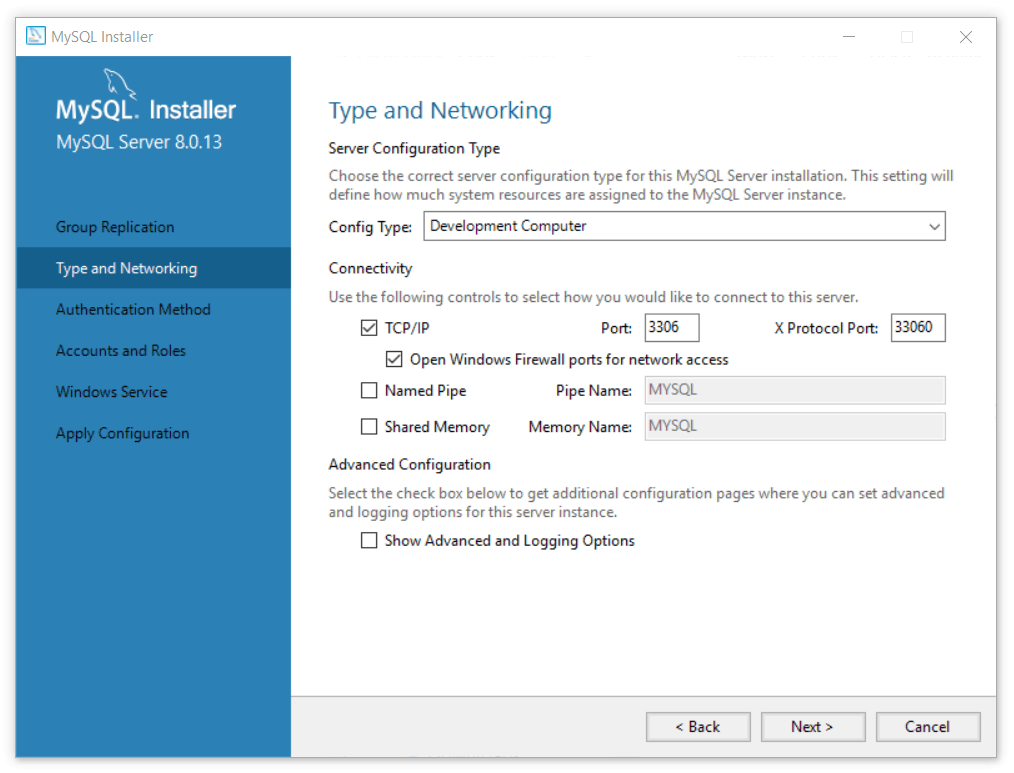
Step 9: Setup type and networking options. All details are predefined, you can change those as per your requirements.
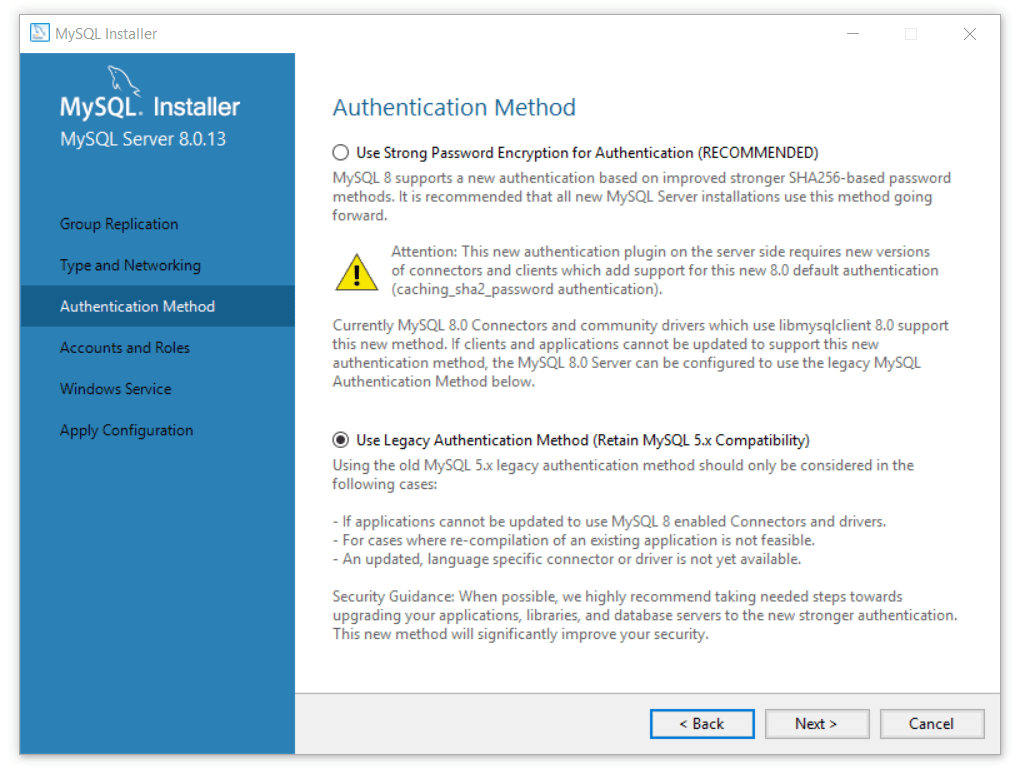
Step 10: Select the authentication method, note that you need to use the legency authentication method. Because it will help you to setup this MySql Server with the phpmyadmin.
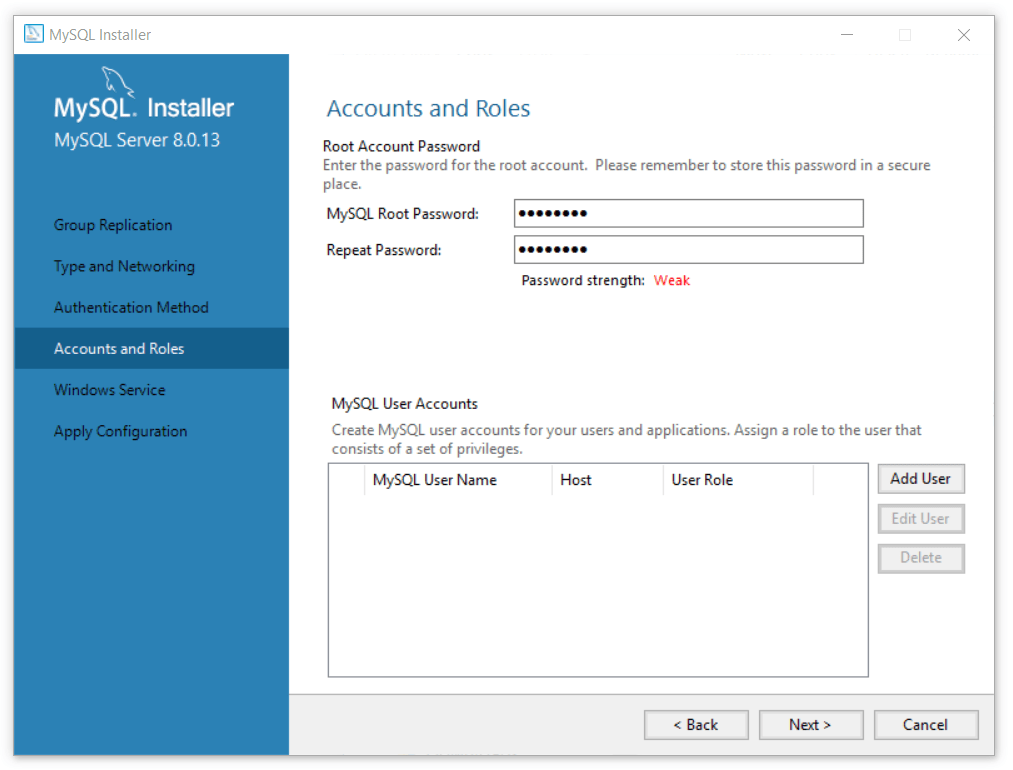
Step 11: Setup the root password.
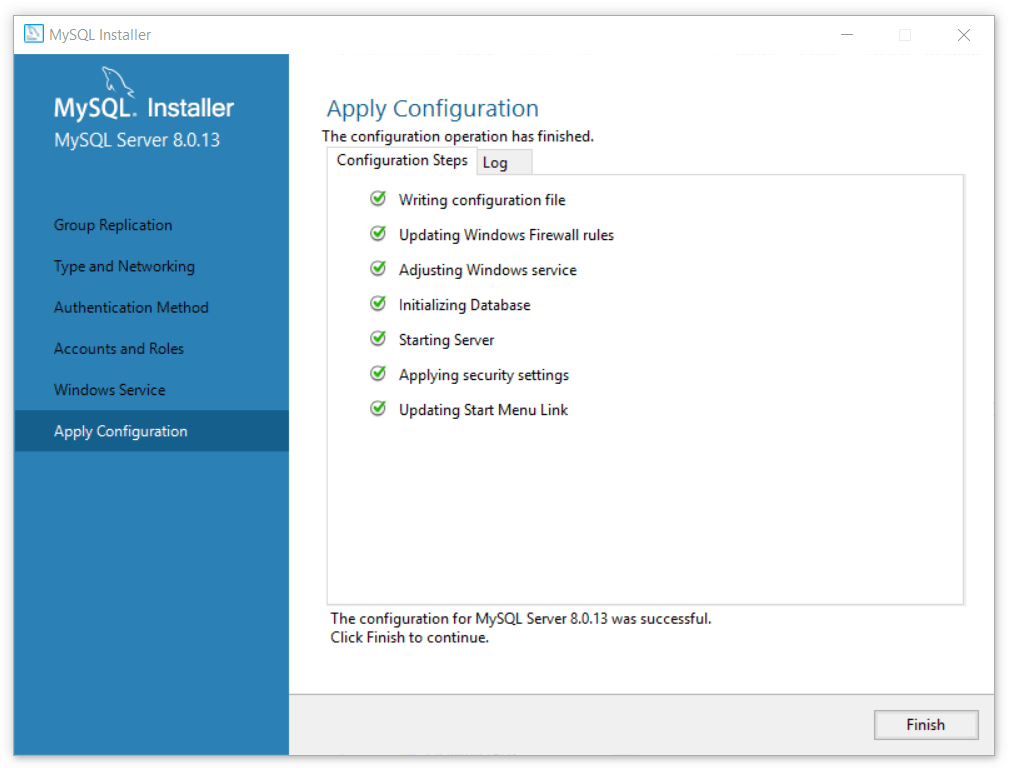
Step 12: Here’s all the configuration step processed one by one. You need to click on the finish button when the process is done.
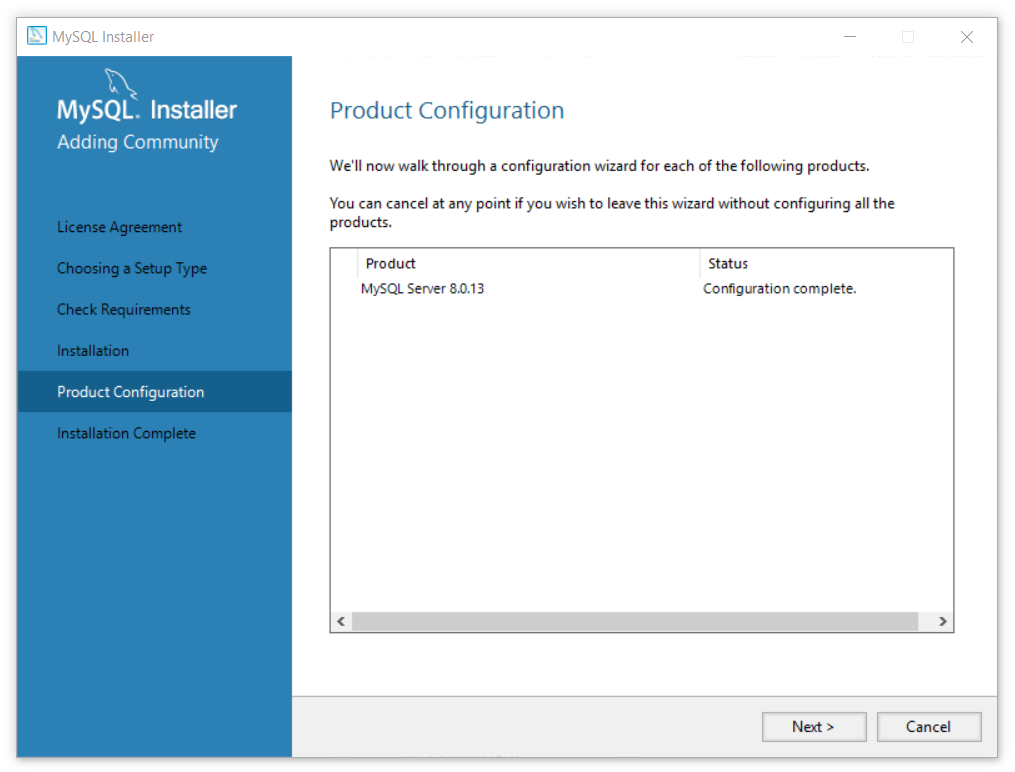
Step 13: Everythings done now, click the next button. And complete the final step.
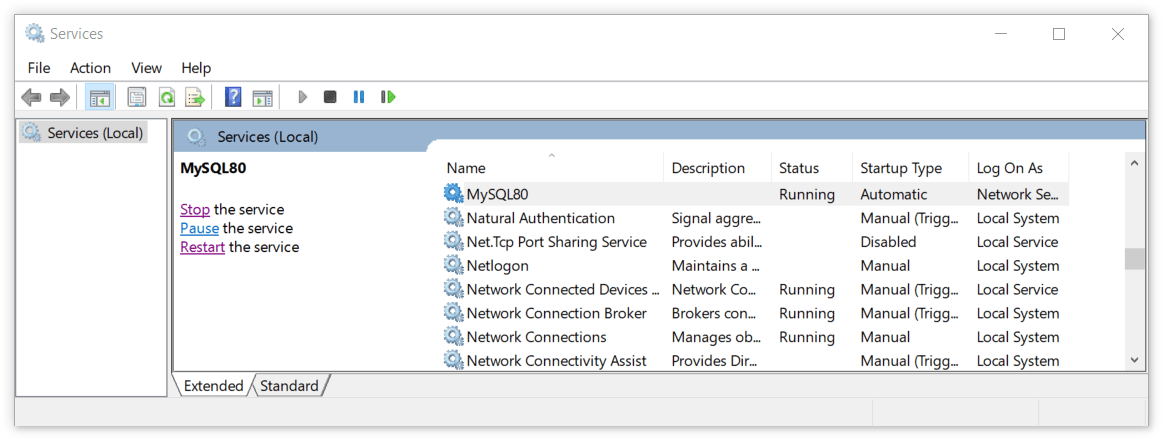
MySQL server is ready now. You can manage MySQL service from the windows service program. You need to open the “RUN” box using “Windows + R” key where you can type “services.msc” command to open the Service” program. Open the program and search MySQL Service.
Setup phpMyAdmin
Our Apache and MySql setup are ready now. You need a client application to access the MySQL database such as MySQL Workbench, phpMyAdmin or etc. Now, we are going to setup the phpmyadmin with our MySql Server.
You can download the phpMyAdmin from the official site. Extract the downloaded zip file in “{directory_path}/Apache24/htdocs” and rename the folder to “phpmyadmin”.
After that, you need to update the “httpd.conf” located at “Apache24” directory. Open the file and update the ”dir_module”.
<IfModule dir_module>
    # Here you need to update index.html to index.php
    DirectoryIndex index.php
</IfModule>
Now, when you open a directory in the browser then the “index.php” file executes by default.
After that, you need to copy a file “config.sample.inc.php” located at “{directory_path}/Apache24/htdocs/phpmyadmin” and save this with a new name “config.inc.php” on the same location. Open the file and update the following code snippet.
/**
 * This is needed for cookie based authentication to encrypt password in
 * cookie. Needs to be 32 chars long.
 */
$cfg['blowfish_secret'] = 'n34uLaA3lvexVi6RaSG3T1BTna123m78'; /* YOU MUST FILL IN THIS FOR COOKIE AUTH! */

/* Authentication type */
$cfg['Servers'][$i]['user'] = 'root'; //mysql username here
$cfg['Servers'][$i]['password'] = 'password'; //mysql password here. here you need to add the password which you setup at the time of mysql server authentication setup.
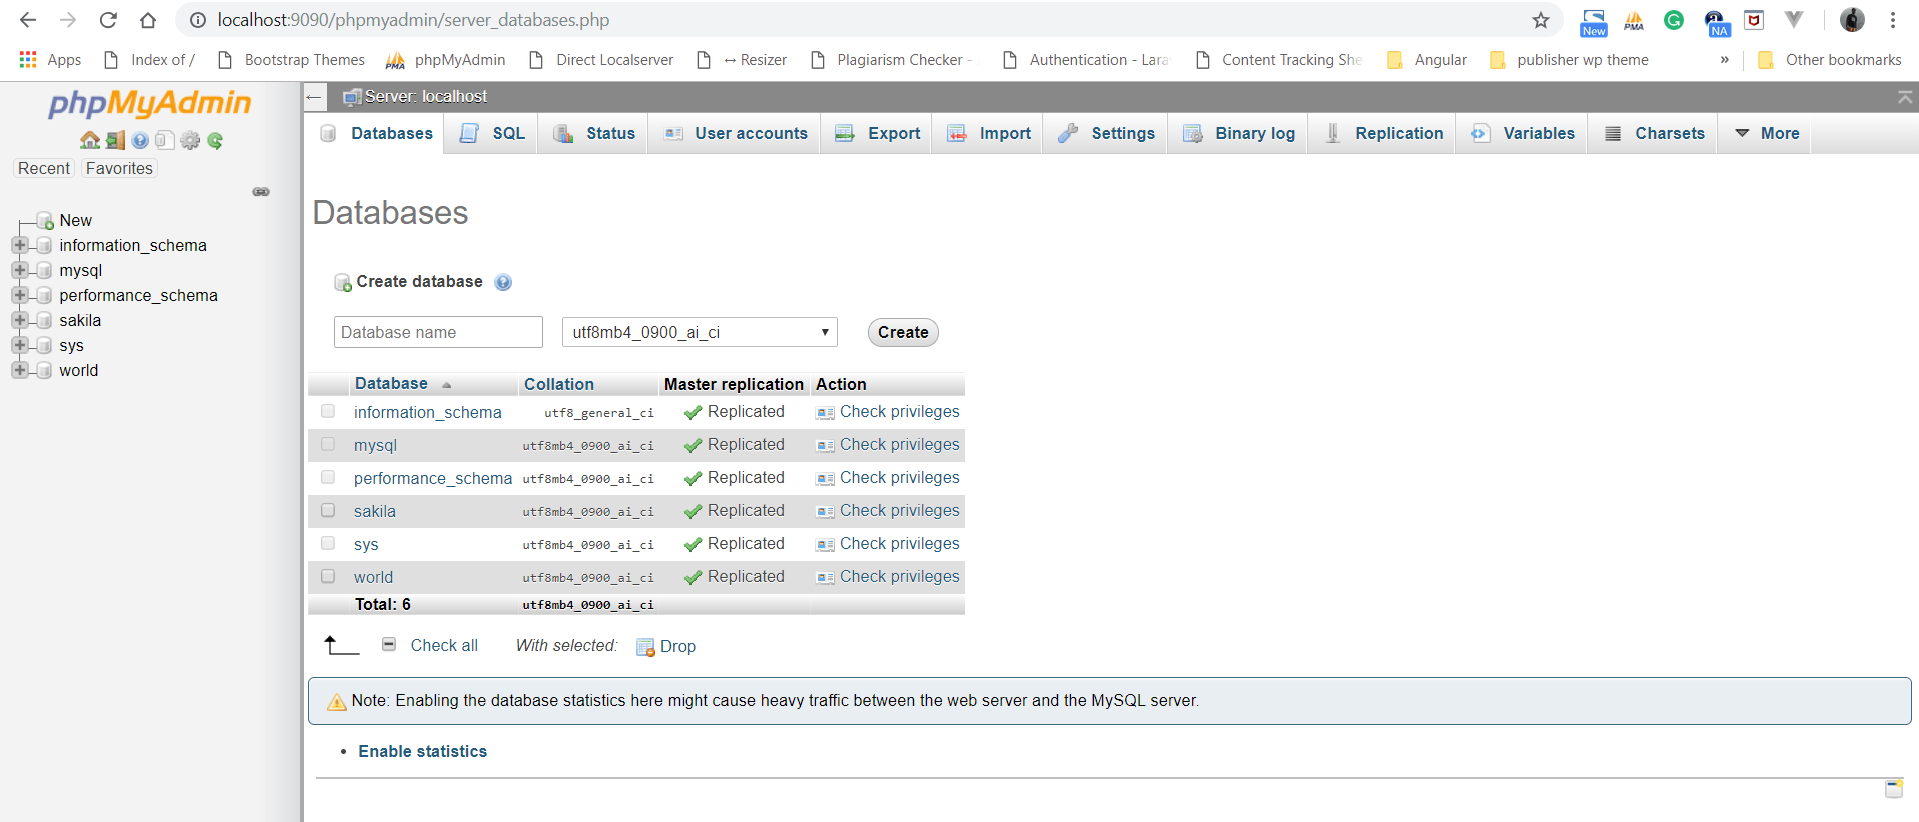
Everything ready, Now time to check our phpmyadmin.
Conclusion
In this article, we are discussing the “Setup Apache, PHP & MySql on Windows 10”. We are creating this tutorial for knowledge. You can use Xampp or Wamp server, both of the servers provide rich features and flexibilities. Using these no need to install Apache, PHP, MySql or PHPMyAdmin manually. Please feel free to add the comment if any query or you can submit your feedback 🙂
If you like our content, please consider buying us a coffee.
Thank you for your support!
Buy Me a Coffee
Thanks for sharing this wonderful tutorial. I will try to implement this soon 😉
Very nice, step-by-step, easy-to-understand tutorial! Thank you!
nice, but how to ‘check out myphpadmin’ (last step)?
anyway many thanks
Please check the last step again, I think its already clear your query. If still having any problem then provide more information.
Wondering why you are not using MySQL Workbench instead of phpMyAdmin?
Good Day,
While performing MySQL configuration steps, Starting Server takes forever. Message poped Up that it takes longer than expected. How to solve this problem?
and later on, after i push cancel and re start the program pasword is not matching… )
This article deserves 5 star (*****). Thanks for sharing great article. It is very useful, easy to understand and attached screenshot is very helpful.
when i did all the above steps, apache, php and mysql are comfortably completed. but phpMyAdmin is not able to access the server_databases.php as it can access index.php in phpMyAdmin. Please Help me to get out from this problem……
Thanks for sharing this wonderful tutorial.
You just need to add the extensions path to the file.
; Directory in which the loadable extensions (modules) reside.
; http://php.net/extension-dir
;extension_dir = “./”
; On windows:
extension_dir = “C:/Apache24/php/ext”
Okay, but how do i start programming php after this? There is no applicatio for that. i have the wamp server.
when i open my sample php, code is displayed
Check once the steps you follow. As per the article, it’s working fine.
Great article.
Missing is for php.ini file:
* Uncomment extension=mbstring and extension=mysqli #For PhpMyAdmin
* As SergioEA mentionned, uncomment and on Windows specify the full path of ext file, such as for me extension_dir = “D:/Development/php-7.4/ext”
Every time php.ini file is changed, have to restart Apache as it is read and loaded at Apache start.
can you share a similar article for sqlite instead of mysql?
Hi! This is a great article.
I’m having problems in the final step, with phpmyadmin. When I test localhost/phpmyadmin in the browser, it’s displaying the following message:
mysqli extension is missing.
I modified this line on the php.ini file (and I made sure the extension was in that folder) but it’s not working:
; On windows:
extension_dir = “C:/Apache24/php/ext”
Could you help me?
Thanks, regards!
This is a great tutorial. I have followed all steps. However, when I start phpmyadmin I get this error
The mysqli extension is missing. Please check your PHP configuration. See [a@doc/html/faq.html#faqmysql@documentation]our documentation for more information
That mysqli is missing. Any solution to this
great tutorial – I followed and installed successfully.
Hello everyone;
I need help here, I have these steps but I got the following message in the browser when I tried opening phpmyadmin:
Composer detected issues in your platform: Your Composer dependencies require the following PHP extensions to be installed: mysqli, openssl