
In this article, we will discuss “How to Setup and Install Next.js App” from scratch.
Table of Contents
What is React.js and Next.js?
“React.js” is a JavaScript library for building user interfaces (elements that users see and interacting on-screen). Basically, React provide us some helpful functions to build UI, and leaves it on us where to use those functions in the application.
“Next.js” is a React framework. It is maintained by “Vercel”. Next.js features to solve common application requirements such as routing, data fetching, integrations – all while improving the developer and end-user experience.
Why we use Next.js?
Next.js comes with the some additional features to solve come application requirements such as:
- We can build SSG (Static Site Generation), SSR (Server-Side Rendering) and SPA (Single Page Application) apps.
- Hot code Reloading: Reload the page when it detects any change saved.
- Routing: No need to configure any route. Files put in the pages folder, create the automatic routing.
- Ecosystem Compatibility: Next.js plays well with the rest of the JavaScript, Node, and React ecosystem.
- Prefetching: The Link component, used to link together different pages, supports a prefetch prop which automatically prefetches page resources.
- Dynamic Components: You can import JavaScript modules and React Components dynamically.
- Static Exports: Using the next export command, Next.js allows you to export a fully static site from your app.
- TypeScript Support: Next.js is written in TypeScript and as such comes with an excellent TypeScript support.
- Automatic code splitting: Next.js, basically can do a code splitting itself, where the framework will split the code so that every page will only load required CSS and JavaScript. User can experience faster page loading.
- API integrated: You can also make API in the same project as your web project.
Create Next.js Project
First, we create a new Next.js Project using following command:
npx create-next-app next-13
When we execute this command, then some questions asked on the Terminal such as: Use TypeScript, EsLint, Src directory and app directory.
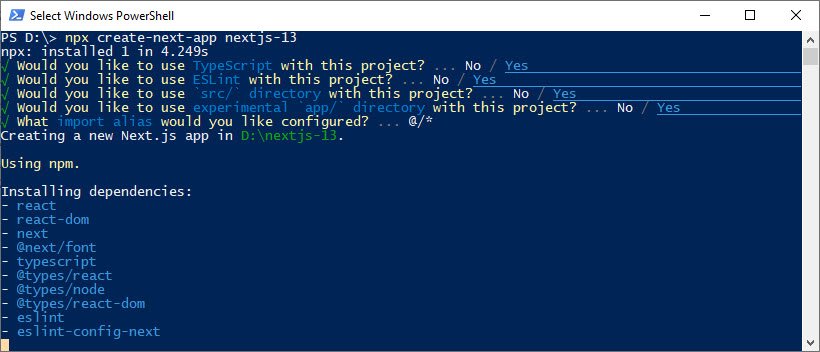
As per the Next.js new version 13 some changes in folder structure seen. Such as app directory instead of pages, Layouts and many more. We will discuss those in details in my next articles.
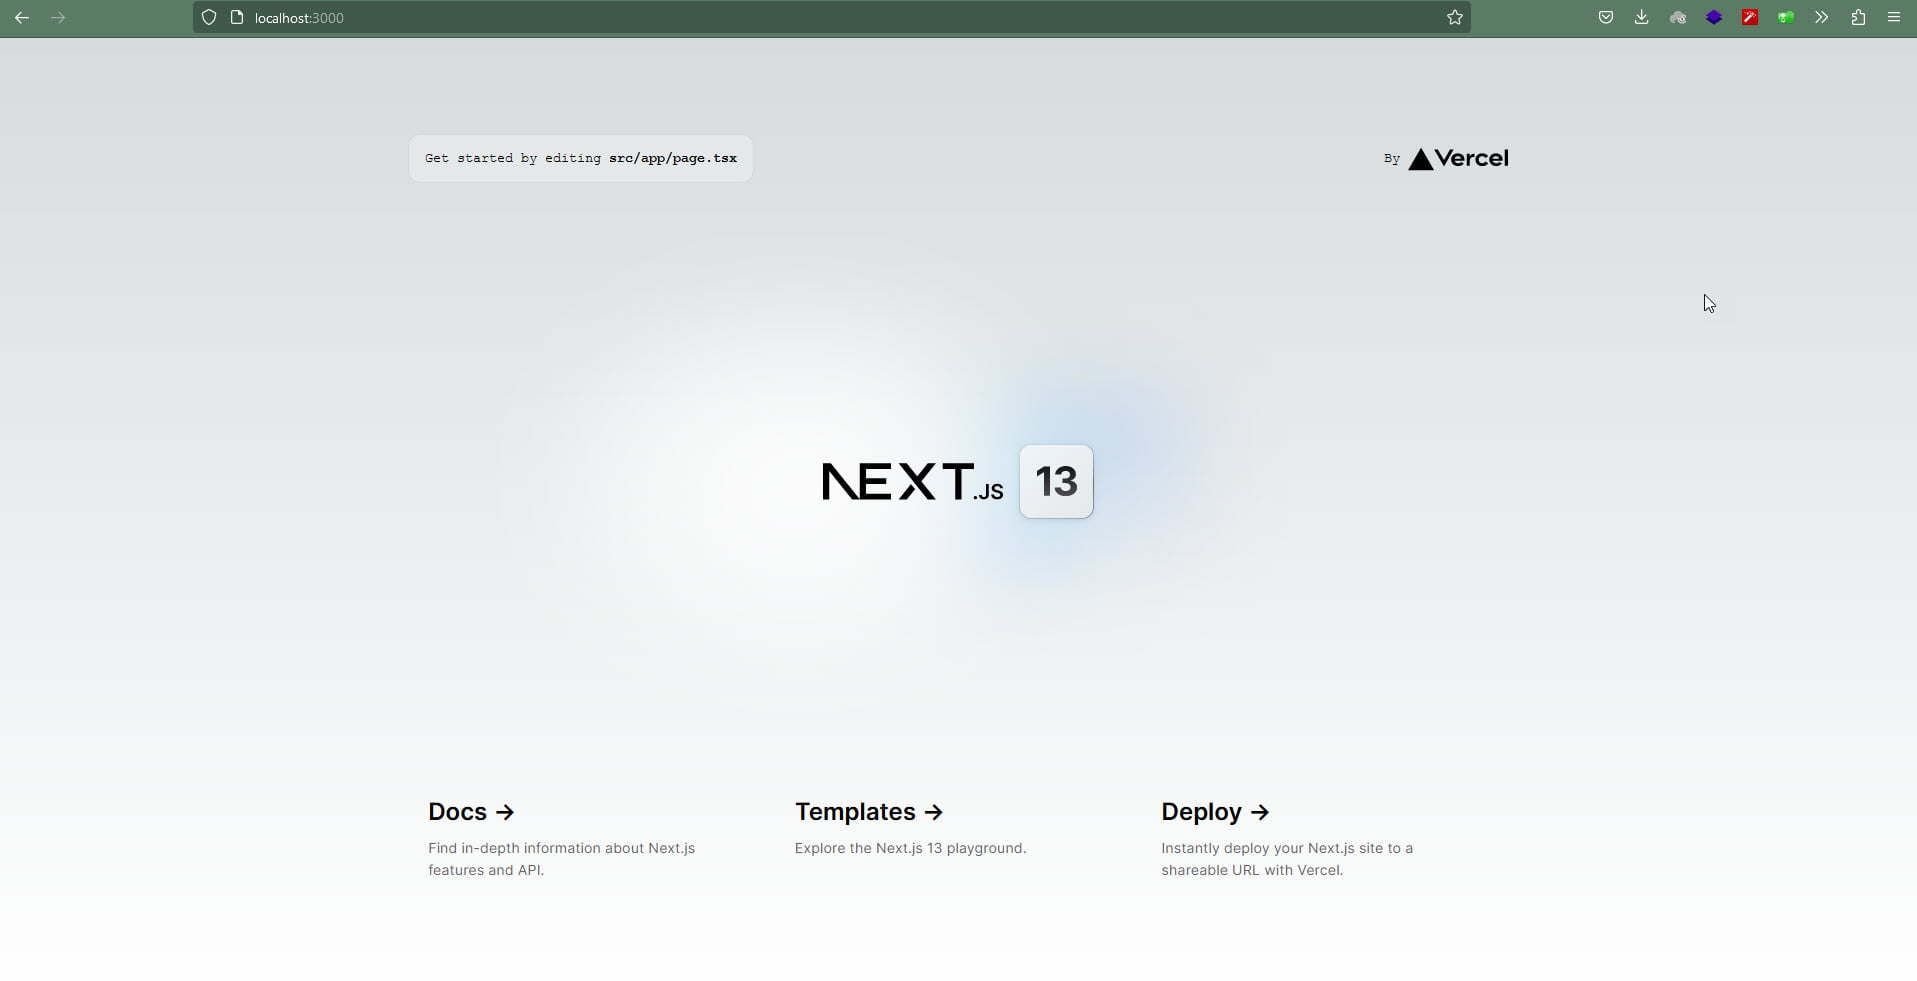
Let’s run the application using following command:
npm run dev
Understanding of App Directory structure
In the app directory, we use folders to define routes, and the files inside these folders are used to define the UI. There are also special files like:
- head.tsx – This file specifies the head tag for the route segment it’s defined in.
- page.tsx – The file used to create the UI for a particular route.
- layout.tsx – It contains the layout definition of the route and is shareable across multiple pages. They are perfect for navigation menus and sidebars. On navigation, layouts preserve state and don’t re-render. This means that when you navigate between pages that share a layout, the state remains the same.
- error.tsx – This file is used to handle errors in the application. It wraps a route with the React error boundary class such that when an error occurs in that route or its children it attempts to recover from it by rendering a user-friendly error page.
- loading.tsx – The loading UI is instantly loaded from the server as the route UI loads in the background. The loading UI can be a spinner or a skeleton screen. Once the route content loads, it replaces the loading UI.
- template.tsx is similar to the layout.tsx file, but upon navigation, a new instance of the component is mounted and the state is not preserved. Using layouts and templates allows us to take advantage of a concept known as partial rendering. While moving between routes inside of the same folder, only the layouts and pages inside of that folder are fetched and rendered:
The app directory is still an experimental feature so we need to add the flag in the “next.config.js” file as following:
    experimental: {
        appDir: true,
    },
No need to perform this action if you are selecting app directory at the time of project installation.
Conclusion
In this article, we are discussing “How to Setup and Install Next.js App”. I tired to explain the basic structure and setup a Next.js project. I hope, you like this article and learn a lot. We will discuss more on Next.js in coming articles. Please feel free to add comments if any queries or suggestions.
Keep learning and stay safe 🙂
If you like our content, please consider buying us a coffee.
Thank you for your support!
Buy Me a Coffee