
In this article, we will discuss “Laravel Scout with TNTSearch Driver”. As we know Laravel provides rich features to make development easy and smooth. Laravel provides an official package “Laravel Scout”, which helps to create a full-text search functionality in your application.
Table of Contents
Prerequisites
Here, we need a Laravel installation to make this Laravel Scout functionality. I’m not adding the installation and other Laravel setup steps. You can start with the following links if required.
How to install Laravel 5 with Xampp using Composer
Setup Virtual Host in Windows with Xampp Server
Understanding Laravel Middleware
Installing Laravel Scout and TNTSearch Driver
Use the following composer command to install the Laravel Scout package.
composer require laravel/scout
After that, install the TNTSearch Driver package.
composer require teamtnt/laravel-scout-tntsearch-driver
Because in the latest version of Laravel, auto package discovery is working so we don’t need to add provider and aliases in our application config file.
Publishing Scout config
php artisan vendor:publish --provider="Laravel\Scout\ScoutServiceProvider"
After executing the above mention command, the scout.php file is created at the config directory. In this file, we will add or update our scout package configurations.
Here, we need to update our scout config and add the following code snippet.
'tntsearch' => [
    'storage'  => storage_path(),
],
Update your “.env” file to add SCOUT_DRIVER=tntsearch at the bottom of your file.
We have successfully configured both the package Laravel Scout and TNTSearch Drivers. And, we are ready to implement searching our Eloquent Models.
Creating Post Model and Factory
Use the following artisan command to create Model, Migration, controller with resources, Factory, and etc.
php artisan make:Model Models\Post -a
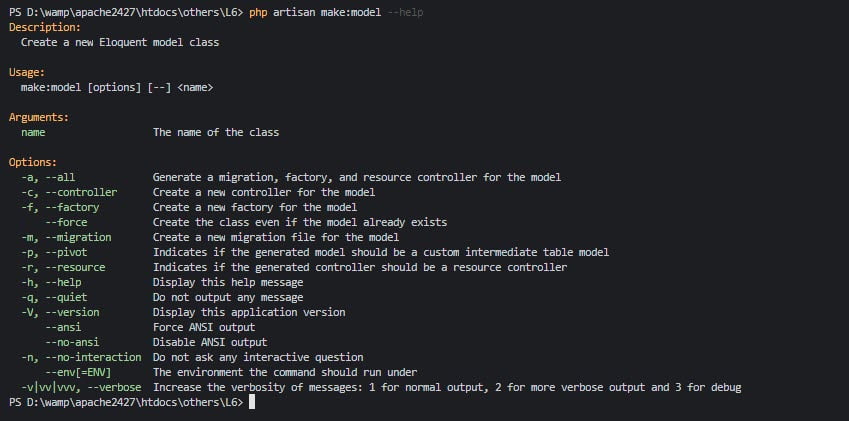
In the above mention command, you can notice the use of “-a”. This a used to create required files such as controller, migration, factory class with the single command. You can also use the more available options using the “–help” with an artisan command as mentioned below.
php artisan make:model --help
Create Testing data
Here, we need some testing data. With this data, we test our application Laravel Scout functionality. So, open the newly created factory class located at “database/factories/PostFactory.php” and update the following code snippet.
<?php

/** @var \Illuminate\Database\Eloquent\Factory $factory */

use App\Models\Post;
use Faker\Generator as Faker;

$factory->define(Post::class, function (Faker $faker) {
    return [
        'post_title' => $faker->sentence(7),
        'post_content' => $faker->text()
    ];
});
After that, open the Post model and add the fillable as per your post table.
protected $fillable = [
    'post_title', 'post_content'
];
Finally, we need to execute the following commands to create the testing data.
php artisan migrate
php artisan db:seed

Update Post Model
We’ll set the “primarykey” and table attribute on our Model so that Eloquent knows what to use for these values if required. Open the Post Model file as given below.
As per the Laravel official documentation: we read Each Eloquent model is synced with a given search “index”, which contains all of the searchable records for that model. In other words, you can think of each index like a MySQL table. By default, each model will be persisted to an index matching the model’s typical “table” name. Typically, this is the plural form of the model name; however, you are free to customize the model’s index by overriding the “searchableAs” method on the model.
So first will add the Searchable trait on our Model, then we will customize the index name that will be created and saved. This index will be used to perform searches instead of querying the database, hence we gain much more speed while doing searches.
<?php

namespace App\Models;

use Laravel\Scout\Searchable;
use Illuminate\Database\Eloquent\Model;

class Post extends Model
{
    use Searchable;

    protected $primaryKey = 'id';

    /**
     * The attributes that are mass assignable.
     *
     * @var array
     */
    protected $fillable = [
        'post_title', 'post_content'
    ];

    /**
     * Searchable Method
     */
    public function searchableAs()
    {
        return 'post_index';
    }
}
Indexing
We will first need to create the Index file for the first time.
php artisan scout:import "App\Models\Post"

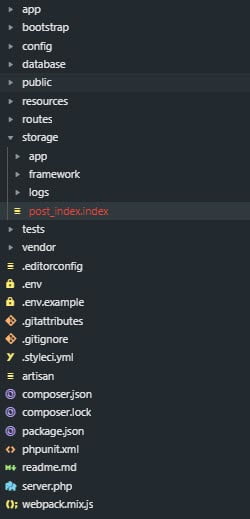
We now have in our storage directory a “post_index.index” file which Laravel Scout will use when performing searches on the Post Model. Now you might be asking yourself well what happens when I update my post table, do I need to import the data again and recreate the Index. Well no, Laravel Scout already takes care of updating the Index whenever you are updating your Model. i.e when you are creating new records, updating records and deleting records.
Searching Model
We can now search our Model using the search method provided by the Searchable trait.
Here, I’m using the Laravel Tinker to test the functionality. Executing the Tinker using “php artisan tinker” command at the terminal. First, we are getting the count of available records using the following command.
App\Models\Post::count();
After that, we are searching for full-text using the search method.
App\Models\Post::search("Accusantlum Consectetur")->get();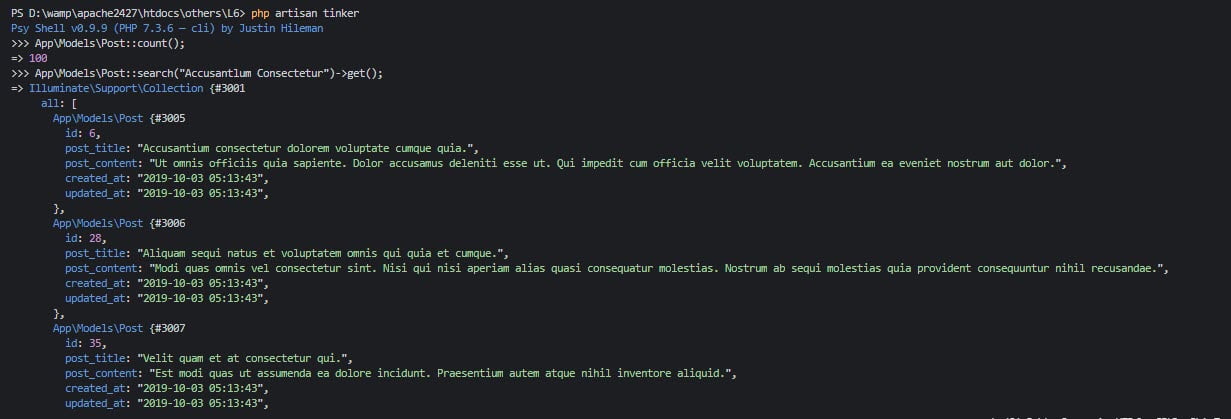
In this search, we get a record where the searched text found in the post title or content. The speed of search at which these results are returned is simply amazing and therefore will really boost your application when you have large sets of data to search.
Conclusion
In this article, I’m trying to explain the working of “Laravel Scout with TNTSearch Driver”. We will discuss more on Laravel Scout in our future post. Please feel free to ask your query or submit your feedback 😉
You may like:
How to Setup Lets Encrypt a Free SSL Certificate
How to Use Make Auth in Laravel 6
Vue CLI 3 – New Game Changer for Frontend Development
If you like our content, please consider buying us a coffee.
Thank you for your support!
Buy Me a Coffee