
In this article, we will discuss how Laravel Custom Validation Rules work. Laravel provides an easy way to create custom validation rules. You can define a rule as per your requirement, and use anywhere in your Laravel application.
You can start with the given articles. Those articles provide a basic understanding of Laravel Validations.
Table of Contents
Create Rule Class
You can use the given make:rule command to create a new rule class.
php artisan make:rule OnlyUppercase
Newly, created OnlyUppercase rule class located at app/Rules directory. The app/Rules directory is not available in the project folder hierarchy. This will be visible after create any custom rule. You can check the generated class as given below.
<?php
namespace App\Rules;

use Illuminate\Contracts\Validation\Rule;

class OnlyUppercase implements Rule
{
    /**
     * Create a new rule instance.
     *
     * @return void
     */
    public function __construct()
    {
        //
    }

    /**
     * Determine if the validation rule passes.
     *
     * @param  string  $attribute
     * @param  mixed  $value
     * @return bool
     */
    public function passes($attribute, $value)
    {
        //
    }

    /**
     * Get the validation error message.
     *
     * @return string
     */
    public function message()
    {
        return 'The validation error message.';
    }
}
We have to update the passes and message function. The passes function contains our validation rule and the message function contains the validation failure message.
Update Rule Class
Now time to update the OnlyUppercase rule class functions.
<?php

namespace App\Rules;

use Illuminate\Contracts\Validation\Rule;

class OnlyUppercase implements Rule
{
    /**
     * Create a new rule instance.
     *
     * @return void
     */
    public function __construct()
    {
        //
    }

    /**
     * Determine if the validation rule passes.
     *
     * @param  string  $attribute
     * @param  mixed  $value
     * @return bool
     */
    public function passes($attribute, $value)
    {
        return strtoupper($value) === $value;
    }

    /**
     * Get the validation error message.
     *
     * @return string
     */
    public function message()
    {
        return 'The :attribute must be uppercase.';
    }
}
With the use of localization, you may use trans function to print specific language messages.
/**
 * Get the validation error message.
 *
 * @return string
 */
public function message()
{
    return trans('validation.only_uppercase');
}
You can read this article to get more knowledge on Laravel Localizations.
Use the Validation Rule in Form Request Class
All is done, now time to implement the newly created validation rule in your Form Request Class. Import the validation rule class in your request class using the use statement. After updating the Form Request Class looks like.
<?php
namespace App\Http\Requests;
use Illuminate\Foundation\Http\FormRequest;
use App\Rules\OnlyUppercase;
class PostRequest extends FormRequest
{
/**
* Determine if the user is authorized to make this request.
*
* @return bool
*/
public function authorize()
{
return true;
}
/**
* Get the validation rules that apply to the request.
*
* @return array
*/
public function rules()
{
return [
'post_title' => ['bail','required','min:6', new OnlyUppercase],
'post_content' => 'required'
];
}
/**
* Get the error messages for the defined validation rules.
*
* @return array
*/
public function messages()
{
return [
'post_title.required' => 'A post title is required',
'post_content.required' => 'A post content is required',
];
}
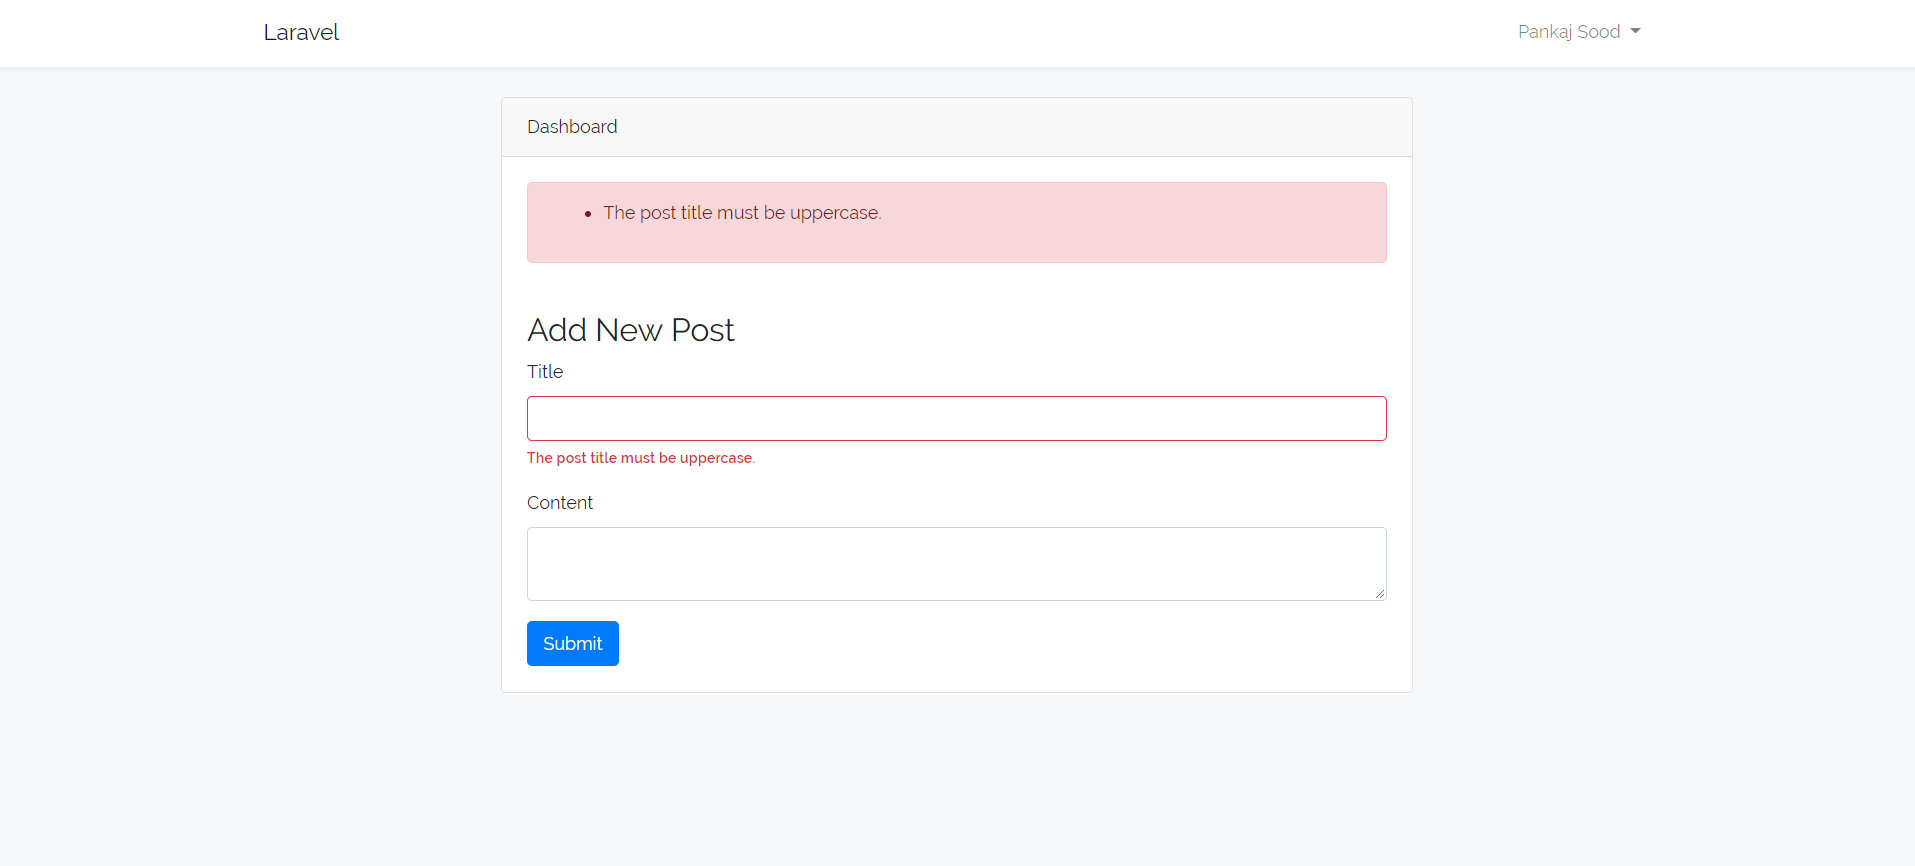
}After updating the code, time to test our form.
Use the Validation Rule in Controller
You can use a custom validation rule in your controller directly. Import the validation rule class in your controller and implement the rule.
use App\Rules\OnlyUppercase;

$request->validate([
    'post_title' => ['bail','required','min:6', new OnlyUppercase],
    'post_content' => 'required'
]);
Conclusion
In this article, you can learn how you can create a Laravel Custom Validation Rule and how you can implement those custom rule in your Laravel Form Request or Controllers. You can read more on Laravel Custom Validation Rule here the official documentation. We will discuss more on Custom Validation Rule in our future post. Please feel free to add the comments if any query.
If you like our content, please consider buying us a coffee.
Thank you for your support!
Buy Me a Coffee
Thanks for this article, it save lot of my time 🙂
how can you set a custom error message for that new rule?
something like “post_title.OnlyUppercase” => “A post title in uppercase format is required here”
thanks for your help!