
In this article, we will discuss the Laravel JWT Authentication – Vue Js SPA (Part 2). In this part, we will continue from where we leave in the tutorial (part 1).
Still, if you are not reading the previous part then please go and check it once for better understanding. In the previous part, I’m describing the Laravel JWT Authentication in brief. You can learn how to make the API authentication using JWT.
Today, I will describe how we can setup Vue Js in Laravel application and how we can connect JWT API authentication with Vue Js frontend.
Table of Contents
Setup Vue Js
Vue Js is already part of a Laravel application. You just need to execute the following command in your terminal and install the required dependencies.
npm install
After executing this command, you will see the node_modules folder in your Laravel application. This folder contains all the necessary node modules. You can read here the full process of Vue Js setup.
Then open your “resource/views/welcome.blade.php” file and replace the file content.
<!doctype html>
<html lang="{{ str_replace('_', '-', app()->getLocale()) }}">
<head>
  <meta charset="utf-8">
  <meta http-equiv="X-UA-Compatible" content="IE=edge">
  <meta name="viewport" content="width=device-width, initial-scale=1">
  <!-- CSRF Token -->
  <meta name="csrf-token" content="{{ csrf_token() }}">
  <title>{{ config('app.name', 'Laravel') }}</title>
  <!-- Fonts -->
  <link rel="dns-prefetch" href="https://fonts.gstatic.com">
  <link href="https://fonts.googleapis.com/css?family=Raleway:300,400,600" rel="stylesheet" type="text/css">
  <!-- Styles -->
  <link href="{{ asset('css/app.css') }}" rel="stylesheet">
</head>
<body>
  <div id="app">
    <index></index>
  </div>
  <!-- Scripts -->
  <script src="{{ asset('js/app.js') }}" defer></script>
</body>
</html>
Create Default Component
Create a default component at “resources/js/Index.vue”. Open Index.vue and add the following code snippet into the file. It’s like a default component, which is loaded first then other components can be added in the content div as per the app functionality.
<template>
<div id="main">
<header id="header">
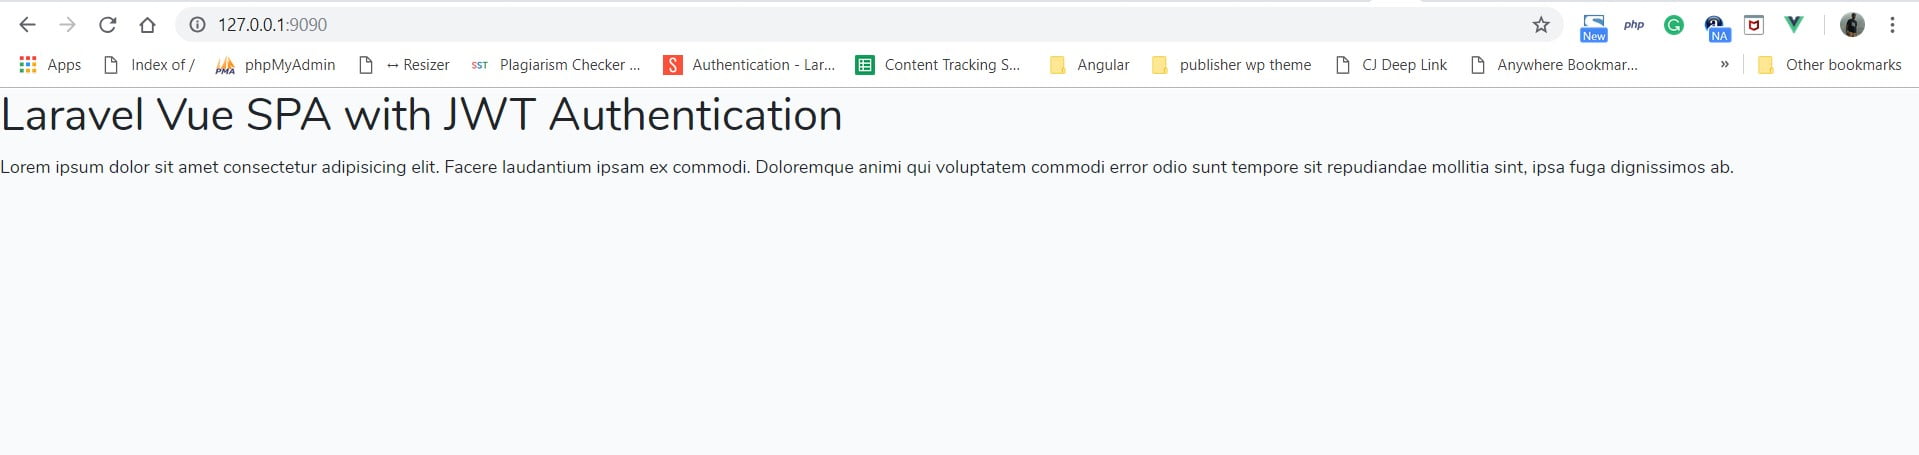
<h1>Laravel Vue SPA with JWT Authentication</h1>
</header>
<div id="content">
<router-view></router-view>
</div>
</div>
</template>
<script>
export default {
data() {
return {
//
}
},
components: {
//
}
}
</script>
Update app.js
Open app.js located at “resources/js” and update the following code snippet.
import './bootstrap'
import Vue from 'vue'
import Index from './Index'

// Set Vue globally
window.Vue = Vue

// Load Index
Vue.component('index', Index)

const app = new Vue({
  el: '#app'
});
After that, you need to execute the following NPM command. This command can watch the changes in your app at the time of development.
npm run watch
Setup Vue Js Packages for Authentication
Now, the basic Vue Js setup is ready with our Laravel application. Time to install the necessary package “websanova/vue-auth” and some of its dependencies such as “vue-router” , “vue-axios”, “axios“, and “es6-promise” for our authentication with Laravel JWT.
You can use the following command to install all these packages.
npm i @websanova/vue-auth vue-router vue-axios axios es6-promise
After successful installation, you need to create an auth configuration file at “resources/auth.js” and add the following code.
import bearer from '@websanova/vue-auth/drivers/auth/bearer'
import axios from '@websanova/vue-auth/drivers/http/axios.1.x'
import router from '@websanova/vue-auth/drivers/router/vue-router.2.x'

/**
 * Authentication configuration, some of the options can be override in method calls
 */
const config = {
  auth: bearer,
  http: axios,
  router: router,
  tokenDefaultName: 'laravel-jwt-auth',
  tokenStore: ['localStorage'],

  // API endpoints used in Vue Auth.
  registerData: {
    url: 'auth/register',
    method: 'POST',
    redirect: '/login'
  },
  loginData: {
    url: 'auth/login',
    method: 'POST',
    redirect: '',
    fetchUser: true
  },
  logoutData: {
    url: 'auth/logout',
    method: 'POST',
    redirect: '/',
    makeRequest: true
  },
  fetchData: {
    url: 'auth/user',
    method: 'GET',
    enabled: true
  },
  refreshData: {
    url: 'auth/refresh',
    method: 'GET',
    enabled: true,
    interval: 30
  }
}
export default config
In this configuration, we create some of the basic config variables. These configurations used for “vue-auth”. You can read more on Vue-Auth configuration on the official documentation.
Create Route File
Create a file router.js under the resources directory and add the following code.
import VueRouter from 'vue-router'

// Pages
import Home from './pages/Home'
import About from './pages/About'
import Register from './pages/Register'
import Login from './pages/Login'
import Dashboard from './pages/user/Dashboard'
import AdminDashboard from './pages/admin/Dashboard'

// Routes
const routes = [
  {
    path: '/',
    name: 'home',
    component: Home,
    meta: {
      auth: undefined
    }
  },
  {
    path: '/about',
    name: 'about',
    component: About,
    meta: {
      auth: undefined
    }
  },
  {
    path: '/register',
    name: 'register',
    component: Register,
    meta: {
      auth: false
    }
  },
  {
    path: '/login',
    name: 'login',
    component: Login,
    meta: {
      auth: false
    }
  },
  // USER ROUTES
  {
    path: '/dashboard',
    name: 'dashboard',
    component: Dashboard,
    meta: {
      auth: true
    }
  },
]
const router = new VueRouter({
  history: true,
  mode: 'history',
  routes,
})
export default router
In this file, we will be defined as the required routes. The “meta” parameter is used to define the access rules for each route.
Each of the routes contains path, name, component and meta parameter.
- “path” is a route path, which accesses in our application.
- “name” is a route name, we use route name to call the specific route.
- “component” is loaded at a time for a route called.
- “meta” is used to define the access rules for each route.
- auth: undefined, it’s a public route.
- auth: true, it’s available only for the authenticated users and auth: false, is available only for the unauthenticated users.
Create Components
Now, time to create required components such as home, register, login, dashboard, and etc as given below.
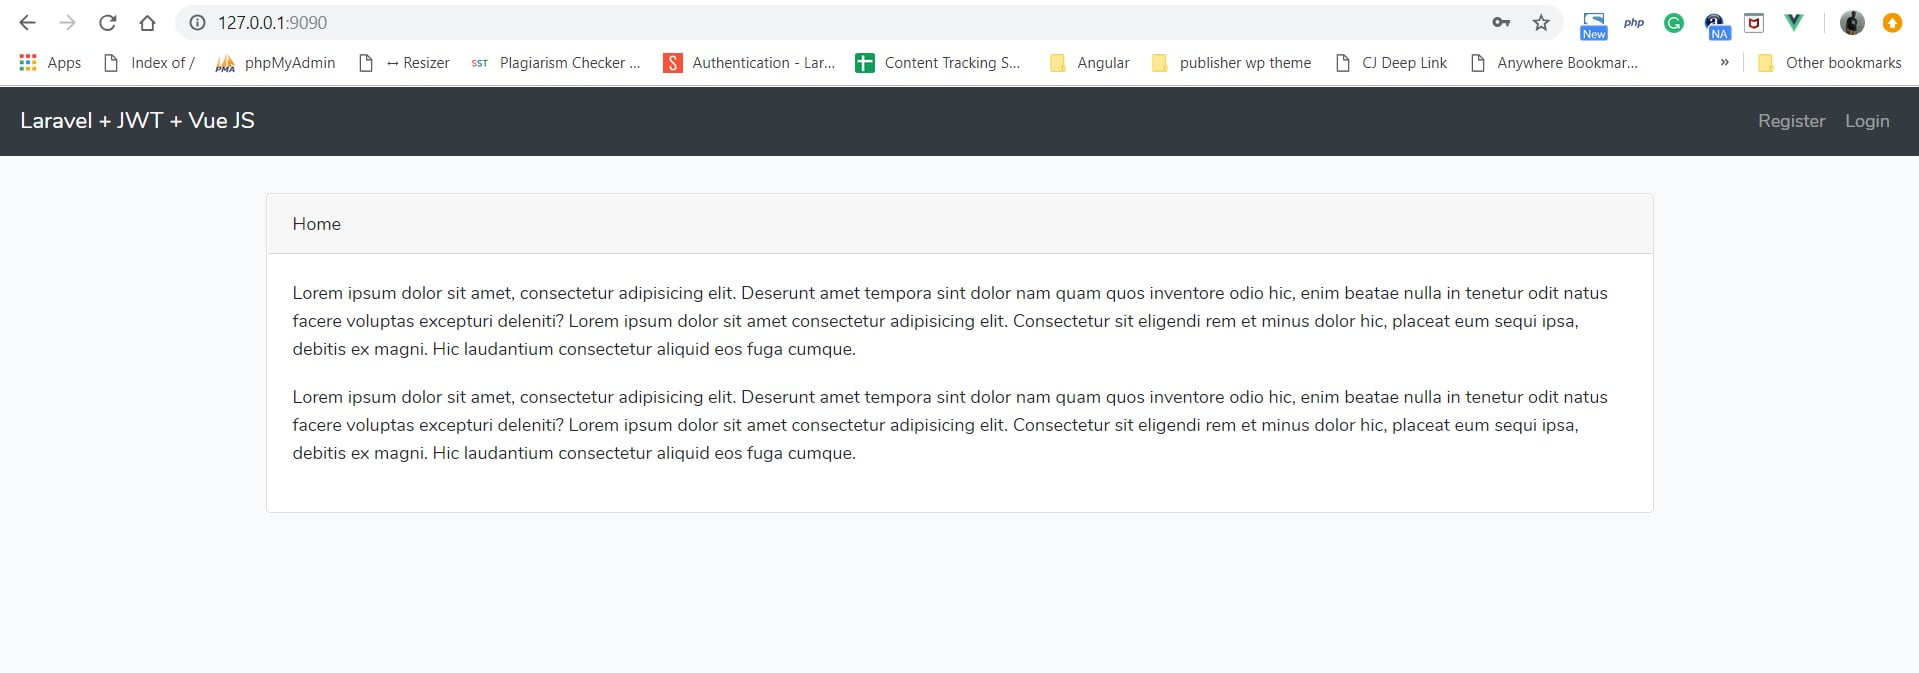
Home Component
Create home component at “resources/js/pages/home.vue”. This component is the home page of our application.
<template>
    <div class="container">
        <div class="card card-default">
            <div class="card-header">Home</div>
            <div class="card-body">
                <p>
                    Lorem ipsum dolor sit amet, consectetur adipisicing elit. Deserunt amet tempora sint dolor nam quam quos inventore odio hic, enim beatae nulla in tenetur odit natus facere voluptas excepturi deleniti? Lorem ipsum dolor sit amet consectetur adipisicing elit. Consectetur sit eligendi rem et minus dolor hic, placeat eum sequi ipsa, debitis ex magni. Hic laudantium consectetur aliquid eos fuga cumque.
                </p>
            </div>
        </div>
    </div>
</template>
Register Component
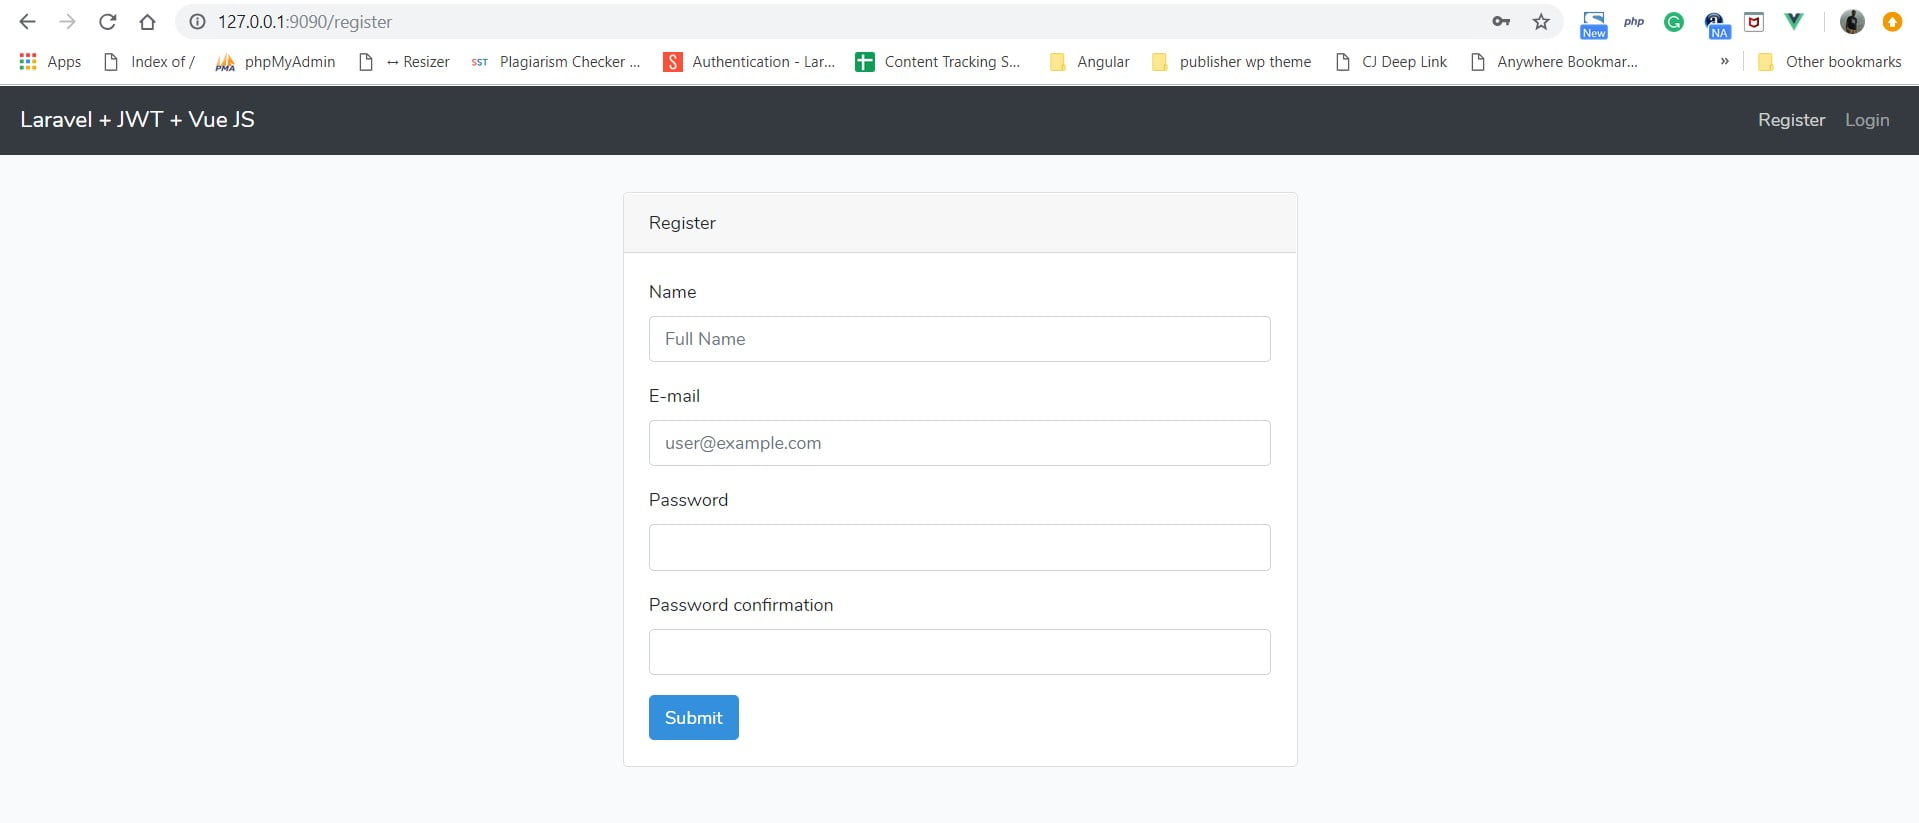
Registration form – Create register component at “resources/js/pages/register.vue”.
<template>
  <div class="container">
    <div class="row justify-content-md-center">
      <div class="col-6">
        <div class="card card-default">
          <div class="card-header">Register</div>
          <div class="card-body">
            <div class="alert alert-danger" v-if="has_error && !success">
                <p v-if="error == 'registration_validation_error'">Validation Errors.</p>
                <p v-else>Error, can not register at the moment. If the problem persists, please contact an administrator.</p>
            </div>
            <form autocomplete="off" @submit.prevent="register" v-if="!success" method="post">
                <div class="form-group" v-bind:class="{ 'has-error': has_error && errors.name }">
                    <label for="name">Name</label>
                    <input type="text" id="name" class="form-control" placeholder="Full Name" v-model="name">
                    <span class="help-block" v-if="has_error && errors.name">{{ errors.name }}</span>
                </div>
                <div class="form-group" v-bind:class="{ 'has-error': has_error && errors.email }">
                    <label for="email">E-mail</label>
                    <input type="email" id="email" class="form-control" placeholder="user@example.com" v-model="email">
                    <span class="help-block" v-if="has_error && errors.email">{{ errors.email }}</span>
                </div>
                <div class="form-group" v-bind:class="{ 'has-error': has_error && errors.password }">
                    <label for="password">Password</label>
                    <input type="password" id="password" class="form-control" v-model="password">
                    <span class="help-block" v-if="has_error && errors.password">{{ errors.password }}</span>
                </div>
                <div class="form-group" v-bind:class="{ 'has-error': has_error && errors.password }">
                    <label for="password_confirmation">Password confirmation</label>
                    <input type="password" id="password_confirmation" class="form-control" v-model="password_confirmation">
                </div>
                <button type="submit" class="btn btn-primary">Submit</button>
            </form>
          </div>
        </div>
      </div>
    </div>
  </div>
</template>
<script>
  export default {
    data() {
      return {
        name: '',
        email: '',
        password: '',
        password_confirmation: '',
        has_error: false,
        error: '',
        errors: {},
        success: false
      }
    },
    methods: {
      register() {
        var app = this
        this.$auth.register({
          data: {
            name: app.name,
            email: app.email,
            password: app.password,
            password_confirmation: app.password_confirmation
          },
          success: function () {
            app.success = true
            this.$router.push({name: 'login', params: {successRegistrationRedirect: true}})
          },
          error: function (res) {
            // console.log(res.response.data.errors)
            app.has_error = true
            app.error = res.response.data.error
            app.errors = res.response.data.errors || {}
          }
        })
      }
    }
  }
</script>
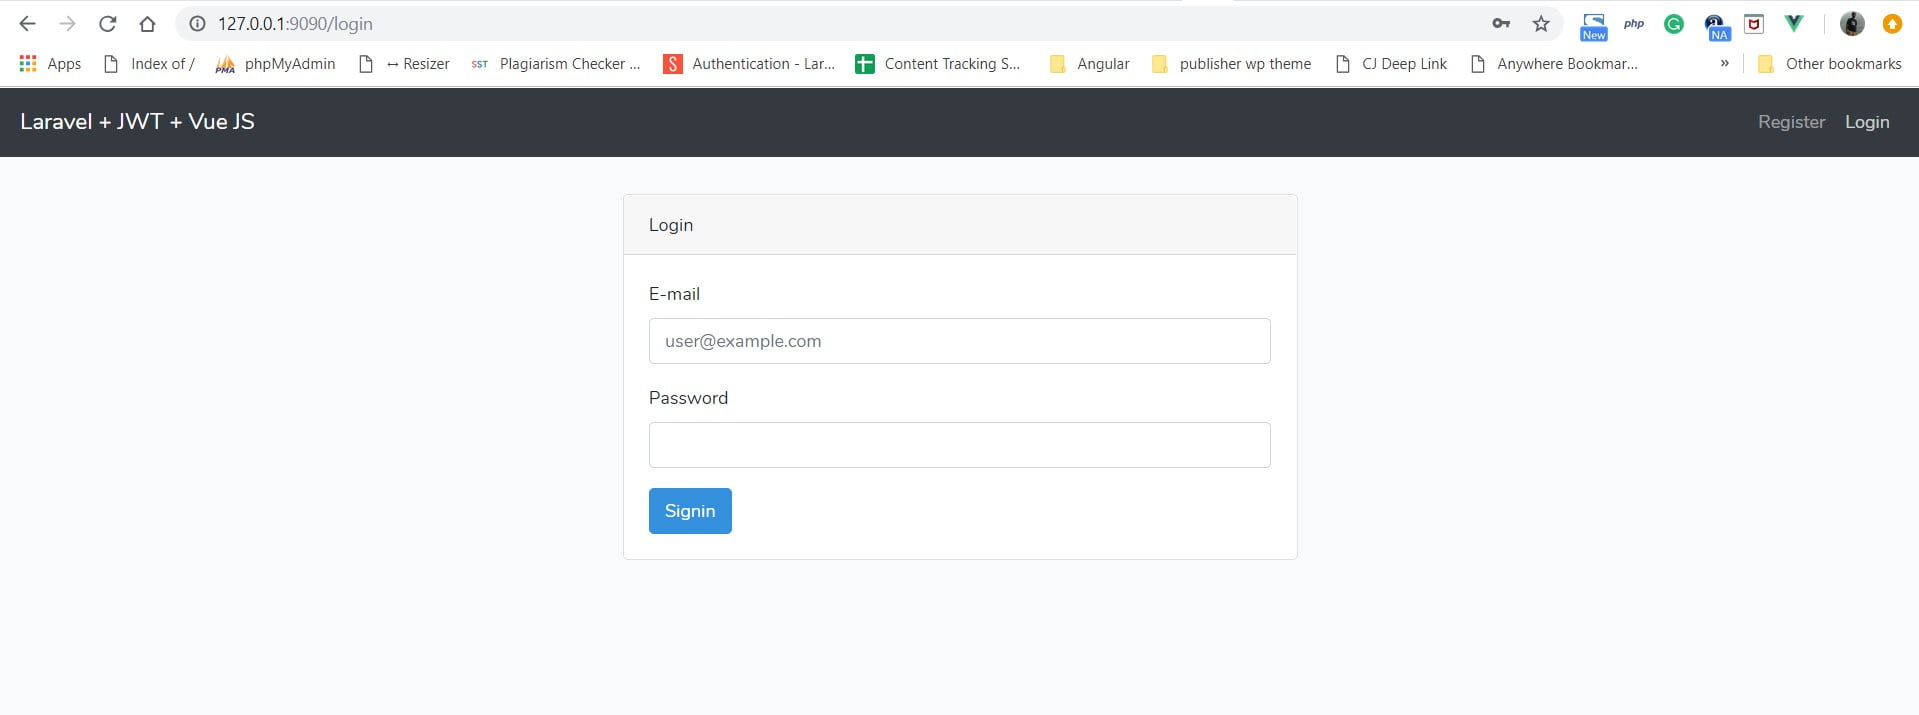
Login Component
Login form – Create login component at “resources/js/pages/Login.vue”.
<template>
  <div class="container">
    <div class="row justify-content-md-center">
      <div class="col-6">
        <div class="card card-default">
          <div class="card-header">Login</div>
          <div class="card-body">
            <div class="alert alert-danger" v-if="has_error && !success">
              <p v-if="error == 'login_error'">Validation Errors.</p>
              <p v-else>Error, unable to connect with these credentials.</p>
            </div>
            <form autocomplete="off" @submit.prevent="login" method="post">
              <div class="form-group">
                <label for="email">E-mail</label>
                <input type="email" id="email" class="form-control" placeholder="user@example.com" v-model="email" required>
              </div>
              <div class="form-group">
                <label for="password">Password</label>
                <input type="password" id="password" class="form-control" v-model="password" required>
              </div>
              <button type="submit" class="btn btn-primary">Signin</button>
            </form>
          </div>
        </div>
      </div>
    </div>
  </div>
</template>
<script>
  export default {
    data() {
      return {
        email: null,
        password: null,
        success: false,
        has_error: false,
        error: ''
      }
    },
    mounted() {
      //
    },
    methods: {
      login() {
        // get the redirect object
        var redirect = this.$auth.redirect()
        var app = this

        this.$auth.login({
          data: {
            email: app.email,
            password: app.password
          },
          success: function() {
            // handle redirection
            app.success = true
            const redirectTo = 'dashboard'
            this.$router.push({name: redirectTo})
          },
          error: function() {
            app.has_error = true
            app.error = res.response.data.error
          },
          rememberMe: true,
          fetchUser: true
        })
      }
    }
  }
</script>
Dashboard Component
Dashboard.vue – Create dashboard component at “resources/js/pages/user/Dashboard.vue”.
<template>
    <div class="container">
        <div class="card card-default">
            <div class="card-header">Dashboard</div>
            <div class="card-body">
                User Dashboard
            </div>
        </div>
    </div>
</template>
<script>
  export default {
    data() {
      return {
        //
      }
    },
    components: {
      //
    }
  }
</script>
Menu Component
Menu.vue – Create menu component at “resources/js/components/Menu.vue”. It’s a reuseable component. We are going to use this component in Index.vue.
<template>
  <nav class="navbar navbar-expand-lg navbar-dark bg-dark">
    <router-link :to="{name: 'home'}" class="navbar-brand">Laravel + JWT + Vue JS</router-link>
    <button class="navbar-toggler" type="button" data-toggle="collapse" data-target="#navbarSupportedContent" aria-controls="navbarSupportedContent" aria-expanded="false" aria-label="Toggle navigation">
      <span class="navbar-toggler-icon"></span>
    </button>

    <div class="collapse navbar-collapse" id="navbarSupportedContent">
      <ul class="navbar-nav mr-auto" v-if="$auth.check(1)">
          <li class="nav-item" v-for="(route, key) in routes.user" v-bind:key="route.path">
            <router-link :to="{ name : route.path }" :key="key" class="nav-link">{{route.name}}</router-link>
          </li>
      </ul>
      <ul class="navbar-nav mr-auto" v-if="$auth.check(2)">
          <li class="nav-item" v-for="(route, key) in routes.user" v-bind:key="route.path">
            <router-link :to="{ name : route.path }" :key="key" class="nav-link">{{route.name}}</router-link>
          </li>
      </ul>
      <ul class="navbar-nav ml-auto" v-if="!$auth.check()">
          <li class="nav-item" v-for="(route, key) in routes.unlogged" v-bind:key="route.path">
            <router-link :to="{ name : route.path }" :key="key" class="nav-link">{{route.name}}</router-link>
          </li>
      </ul>
      <ul class="navbar-nav ml-auto" v-if="$auth.check()">
        <li class="nav-item">
          <a class="nav-link" href="#" @click.prevent="$auth.logout()">Logout</a>
        </li>
      </ul>
    </div>
  </nav>
</template>
<script>
  export default {
    data() {
      return {
        routes: {
          // UNLOGGED
          unlogged: [
            { name: 'Register', path: 'register' },
            { name: 'Login', path: 'login'}
          ],
          // LOGGED USER
          user: [
            { name: 'Dashboard', path: 'dashboard' }
          ],
          // LOGGED ADMIN
          admin: [
            { name: 'Dashboard', path: 'admin.dashboard' }
          ]
        }
      }
    },
    mounted() {
      //
    }
  }
</script>

<style>
.navbar {
  margin-bottom: 30px;
}
</style>
Index Component
Index.vue – component is the main component which is loaded by default. You can control this in your resources/js/app.js.
<template>
    <div id="main">
        <header id="header">
            <Menu></Menu>
        </header>
        <div id="content">
            <router-view></router-view>
        </div>
    </div>
</template>
<script>
  import Menu from './components/Menu.vue'
  export default {
    data() {
      return {
        //
      }
    },
    components: {
      Menu
    }
  }
</script>
Update App.js
Finally, time to update resources/js/app.js. So open your app.js file and replace the code with the following code.
require('./bootstrap');

import 'es6-promise/auto'
import axios from 'axios'
import Vue from 'vue'
import VueAuth from '@websanova/vue-auth'
import VueAxios from 'vue-axios'
import VueRouter from 'vue-router'
import Index from './Index'
import auth from './auth'
import router from './router'

// Set Vue globally
window.Vue = Vue

// Set Vue router
Vue.router = router
Vue.use(VueRouter)

// Set Vue authentication
Vue.use(VueAxios, axios)
axios.defaults.baseURL = `${process.env.MIX_APP_URL}/api/v1`

Vue.use(VueAuth, auth)

// Load Index
Vue.component('index', Index)
const app = new Vue({
  el: '#app',
  router
});
In this file, we need to import the necessary Vue.js packages and other dependencies which we need at the time to application load.
Update Laravel “.env”
As you notify, I’m using “MIX_APP_URL” variable for Axios base URL. But before using this you need to add this variable in your “Laravel .env” file.
// VARIABLE USE IN VUR APP

MIX_APP_URL="${APP_URL}"

// Laravel Default APP_URL VARIABLE

APP_URL=http://127.0.0.1:8000
Now, time to test the application. So I’m using two different terminals or command prompt window to execute our Vue Laravel App.
Test Laravel Vue App
Open the first terminal and execute the following artisan command.
php artisan serve --port=9090
In the second terminal, we need to execute the following NPM command.
npm run watch
The above mention “npm run watch” command will detect all the file changes and compile those file immediately. You just need to refresh the browser.
Let’s time to check the working of our Laravel Vue application.
Home Page
Login Page
Register Page
Everything works fine, but when you trying to reload any specific route such as login or register then we face error. It because of Laravel is currently configured only for the index route. You have to update the “route/web.php” route file and replace the following code with the existing.
// Route to handle page reload in Vue except for api routes
Route::get('/{any?}', function (){
    return view('welcome');
})->where('any', '^(?!api\/)[\/\w\.-]*');
After that, each route works fine.
When a user logged in the application then the user will redirect to its dashboard.

Conclusion
In this tutorial, we will be discussing the Vue Js Setup and connect Laravel JWT Authentication with Vue App. This is the second part of the series, so you need to check part 1 for better understanding. In part 1 I’m explaining the Laravel JWT Authentication.
It’s just a start, still not enough in Vue Js. We will discuss more on Vue Js such as protecting route, error handling, user role management and many more.
You can get the complete source code on GitHub.
Please feel free to ask questions, and also send me your feedback so I can make improvement in this tutorial.
🙂 😉
If you like our content, please consider buying us a coffee.
Thank you for your support!
Buy Me a Coffee
Thanks Pankaj
Great tutorial. More appreciated if you share this tutorial via GitHub repository.
Hi Pankaj,
As far as I know I followed your tutorial to the letter but I am getting the following console error:
POST http://localhost:8000/undefined/api/v1/auth/login 405 (Method Not Allowed)
Any suggestions? Do you have a working version of the code on Github?
Hi James,
Please recheck all the step once and try again.
Yes, I have a working version and soon I will create a GitHub repository for this.
I have the exact same problem… Hmm,
I have the exact same error: http://localhost:8080/undefined/api/v1/auth/login 404 (Not Found)
I’m using vue cli 3 project with laravel.
http://localhost:8080 is my vue project.
http://localhost:8000 is my laravel project.
So my baseURL is supposed to be http://localhost:8000/api/v1/auth/login
When I try to hardcode i.e: axios.defaults.baseURL = ‘http:/localhost:8000/api/v1’ , I get error:
POST http://localhost:8080/localhost:8000/api/v1/auth/login 404 (Not Found)
Hi, you need to leave it like this
axios.defaults.baseURL = ‘/api/v1’
That worked for me
Actually, re-running rpm run watch (and possibly artisan cache:clear) will add the new environment variable to your app
Thanks!
Hi. Where do you save the token sent from server?
As i see, upon successful login, it is sent in header.
return response()->json([‘status’ => ‘success’], 200)->header(‘Authorization’, $token);
Shouldn’t we save it in local storage or in cookie??
Thanks.
Thanks for your great tuto!
My issue is that I can register and login with postman. ok part 1. But when I try to “refresh” with postman (/api/auth/refresh/), from a logged user (authentication: Bearer tokenkey…) I get an “undefined variable ‘token'” from the refresh method.
How does this method get the token to refresh?
Thank you!
I should add to my comment that the problem seems to be that token doesn’t persist. Even having set the option as ‘ttl’ => env(‘JWT_TTL’, 1440) in config/jwt.php
Thanks!
Author does not include that when using /api/auth/refresh you must pass the token as a a header. In Postman:
Key: Authorization
Value: Bearer
NOT WORKING IN 5.8
Don’t work in Laravel 5.8,*:
Method Illuminate\Auth\SessionGuard::refresh does not exist.
Thanks for sharing Pankaj!
It works with the latest Laravel and VueJS.
But the errors.name which is showed in span element is “[…]”. Can you help me to remove the double quotes and the square brackets, pls?
what is the function of “auth.js”?
still confused @_@
tengo una duda si es que se puede al momento de registrarse logearse directamente
nose si tengo que modifcar el auth.js o en el componente register.vue
{
app.success = true
this.$router.go(‘dashboard’)
},
ya que al hacer esto no me deja entrar al dashboard
error, can not register at the moment. if the problem persists, contact administrator please if you help me I am registering a new user and I get this error I appreciate your helpplease if you help me I am registering a new user and give me this error I appreciate your help
Hello, nice tutorial, I am trying to test it but I get errors: for example:
/** @test */
function a_user_can_login()
{
$attributes = [
’email’=>’test@gmail.com’,
‘password’=>’123546’
];
$response = $this->post(‘/api/auth/login’, $attributes);
$response->assertStatus(200)
->assertJsonStructure([
‘user’, ‘access_token’
]);
}
then I get this error: Expected status code 200 but received 401.(Unauthorized)
What can I do?
Thank you.
Hi Luis,
It’s hard to get the reason why you face this 🙂
Do some debugging and track your API.
I modified my test like this:
/** @test */
function a_user_can_login()
{
$attributes = [
’email’=>’test@gmail.com’,
‘password’=> bcrypt(’123546’)
];
$response = $this->post(‘/api/auth/login’, $attributes);
$response->assertStatus(200)
->assertJsonStructure([
‘user’, ‘access_token’
]);
}
I forgot to add the bcrypt function, but still I get the same error, I found out that it fails in AuthController.php
/**
* Get a JWT via given credentials.
*
* @return \Illuminate\Http\JsonResponse
*/
public function login()
{
$credentials = request([’email’, ‘password’]);
///here fails
if (! $token = auth()->attempt($credentials)) {
return response()->json([‘error’ => ‘Unauthorized’], 401);
}
return $this->respondWithToken($token);
}
it fails when trying to log in the user. it is so strange,
getting Token Signature could not be verified error. how to solve this
Hi i tried to implement this ith your tutorial.
Register is working fine,
I can login but then i get this error :
Failed to load resource: the server responded with a status of 400 (Bad Request) – /api/v1/auth/user:1
When i refresh the page i get a blank page and the error :
app.js:1630 GET http://laravue.test/api/v1/auth/refresh 500 (Internal Server Error)
message: “Method Illuminate\Auth\SessionGuard::refresh does not exist.”,…}
exception: “BadMethodCallException”
file: “/Users/benoitheidingsfeld/DevProjects/vuexy-laravue/vendor/laravel/framework/src/Illuminate/Macroable/Traits/Macroable.php”
line: 103
message: “Method Illuminate\Auth\SessionGuard::refresh does not exist.”
trace: [,…]
How can i retrieve the id of the user on login?
Hi, i was followed your tutorial and get stuck after update app.js . i got error “Uncaught SyntaxError: Unexpected token ‘!’ “. how i can solve it? thanks for your answer, sir