
In this article, we will discuss “Laravel Socialite Twitter Login”. As we already discussed, Laravel is not only PHP framework. It’s like a lifesaver tool for the developer. If you are new in Laravel then you can start with our previous articles.
Laravel also provide a simple and convenient way to authenticate with OAuth providers using Laravel Socialite. Currently, Laravel Socialite support authentication only with Twitter, GitHub, Facebook, Google, GitLab, LinkedIn, and Bitbucket. We will discuss all those one by one in our future articles.
Table of Contents
Laravel Socialite Twitter Login
Setup Laravel
Setup a fresh copy for the implementation of Twitter Login. You can follow our tutorial if you any help in this step. In short, you can use the following composer command to setup Laravel.
composer create-project laravel/laravel laravel-socialite-demo --prefer-dist
After successful installation, Update your “.env” file. Add the database name and other credentials.
Migrate your database using the following artisan command.
php artisan migrate
If, you receive an error “1071 access violation”. Then you can get the solution here “How To Fix Laravel Syntax Error Or Access Violation 1071”.
Create scaffolding for default login using the following artisan command.
php artisan make:auth
Start the server, using the following artisan command.
php artisan serve
Setup Laravel Socialite
Laravel Socialite is a Laravel official package. You can install this via given composer command.
composer require laravel/socialite
After successful installation, time to update the provider and aliases in the default configuration file located at “config/app.php”.
'providers' => [
    // Other service providers...

    Laravel\Socialite\SocialiteServiceProvider::class,
],

'aliases' => [
    // aliases

    'Socialite' => Laravel\Socialite\Facades\Socialite::class,
]
Create a Twitter App
Now, time to create a Twitter App at Twitter developer panel. Go to the Twitter developer panel and log in with your twitter account. If you are not registered with the Twitter developer account then you need to register for this. Because twitter recently updates there developer account policies so you need to follow those. After successful registration, you are eligible to create an app.
Now, click on “Create an app” button. Then fill out the given form.
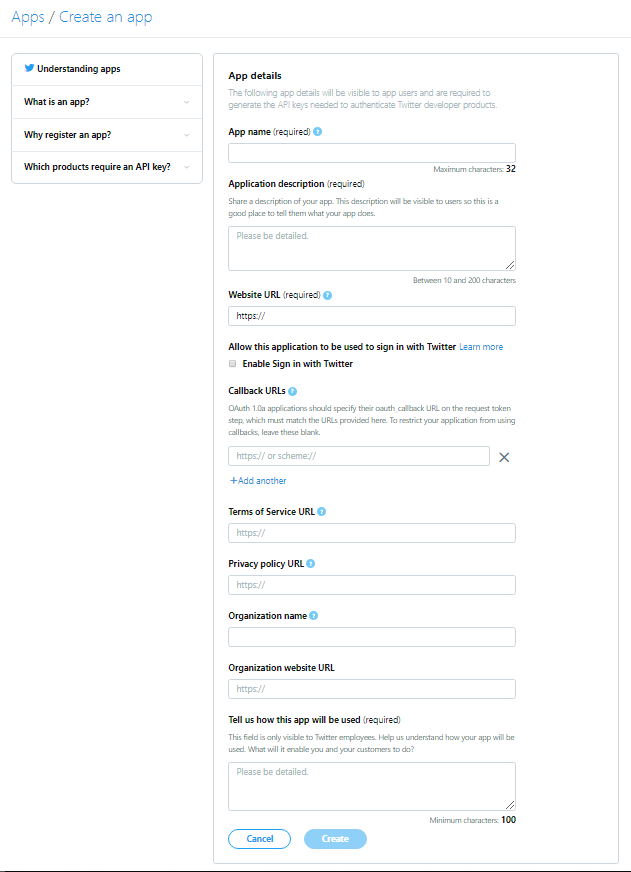
After successful form submission, your twitter app is ready for use.

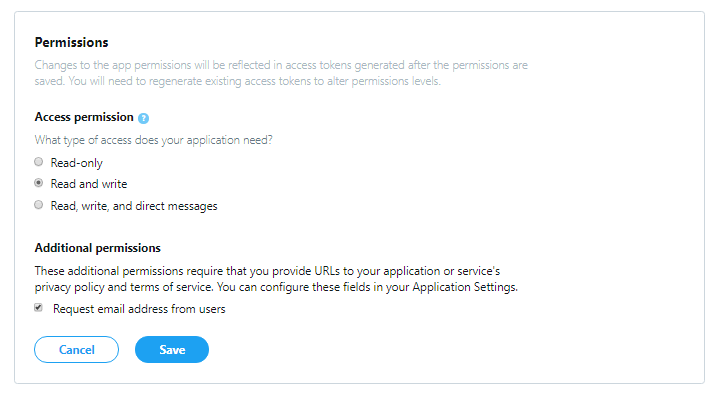
Go to the Permission tab and tick the checkbox “Request email address from users” under the additional permission section.
Twitter API Key and Secret
Go to the Keys and Tokens section and then you will find your API Key and Secret. After that, you need to update those keys at “config/services.php”.
'twitter' => [
    'client_id' => 'XXXXXX-XXXXXX',
    'client_secret' => 'XXXXXX-XXXXXX',
    'redirect' => '',
]
Add Twitter Login Button in Login View
Add the following code snippet to your login form located at “resources/view/auth/login.blade.php”.
...
    <div class="form-group row mb-0">
        <div class="col-md-12 text-center">
            <a href="{{url('/redirect/twitter')}}" class="btn btn-primary">Login with Twitter</a>
        </div>
    </div>
...
Create Migration
You can use the following artisan command to create a migration.
php artisan make:migration create_socialite_accounts_table --create="socialite_accounts"
After creating a migration, open the migration file located at “database” directory. And update the following code into the file.
<?php

use Illuminate\Support\Facades\Schema;
use Illuminate\Database\Schema\Blueprint;
use Illuminate\Database\Migrations\Migration;

class CreateSocialiteAccountsTable extends Migration
{
    /**
     * Run the migrations.
     *
     * @return void
     */
    public function up()
    {
        Schema::create('socialite_accounts', function (Blueprint $table) {
            $table->increments('id');
            $table->integer('user_id');
            $table->string('provider_user_id');
            $table->string('provider');
            $table->timestamps();
        });
    }

    /**
     * Reverse the migrations.
     *
     * @return void
     */
    public function down()
    {
        Schema::dropIfExists('socialite_accounts');
    }
}
Create a Model
Create a model “SocialiteAccount” in the app directory using following artisan command.
php artisan make:model SocialiteAccount
Newly created model is located at app directory. Open the model file and update the following code.
<?php

namespace App;

use Illuminate\Database\Eloquent\Model;

class SocialiteAccount extends Model
{
    protected $fillable = ['user_id', 'provider_user_id', 'provider'];

    /**
     * Relation with user table
     */
    public function user()
    {
        return $this->belongsTo(User::class);
    }
}
Create a Service to Handle Social Login
Now, create a custom service which handles the login process and database insertion.
<?php

namespace App;

use Laravel\Socialite\Contracts\User as ProviderUser;
use App\SocialiteAccount;

class SocialiteHandler
{
    public function createOrGetUser(ProviderUser $providerUser, $provider)
    {
        $account = SocialiteAccount::whereProvider($provider)
            ->whereProviderUserId($providerUser->getId())
            ->first();

        if ($account) {
            return $account->user;
        } else {

            $account = new SocialiteAccount([
                'provider_user_id' => $providerUser->getId(),
                'provider' => $provider
            ]);

            $user = User::whereEmail($providerUser->getEmail())->first();

            if (!$user) {
                $user = User::create([
                    'email' => $providerUser->getEmail(),
                    'name' => $providerUser->getName(),
                    'password' => bcrypt(str_random(8))
                ]);
            }

            $account->user()->associate($user);
            $account->save();

            return $user;

        }

    }
}
Create a Controller
Create a controller “SoccialAuthController” using the following artisan command.
php artisan make:controller SocialAuthController
Open newly created controller and update the following code.
<?php

namespace App\Http\Controllers;

use Illuminate\Http\Request;
use Socialite;
use App\SocialiteHandler;

class SocialAuthController extends Controller
{
    /**
     * Create a redirect method to twitter api.
     *
     * @return void
     */
    public function redirect($provider)
    {
        return Socialite::driver($provider)->redirect();
    }

    /**
     * Return a callback method from twitter api.
     *
     * @return callback URL from twitter
     */
    public function callback($provider, SocialiteHandler $service)
    {
        $user = $service->createOrGetUser(Socialite::driver($provider)->user(), $provider);
        auth()->login($user);
        return redirect()->to('/home');
    }
}
Update the Route File
Finally, update the route as given below.
<?php
Route::get('/', function () {
    return view('welcome');
});

Auth::routes();

Route::get('/redirect/{provider}', 'SocialAuthController@redirect');
Route::get('/callback/{provider}', 'SocialAuthController@callback');

Route::get('/home', 'HomeController@index')->name('home');
Everything ready, let execute from our Laravel application.
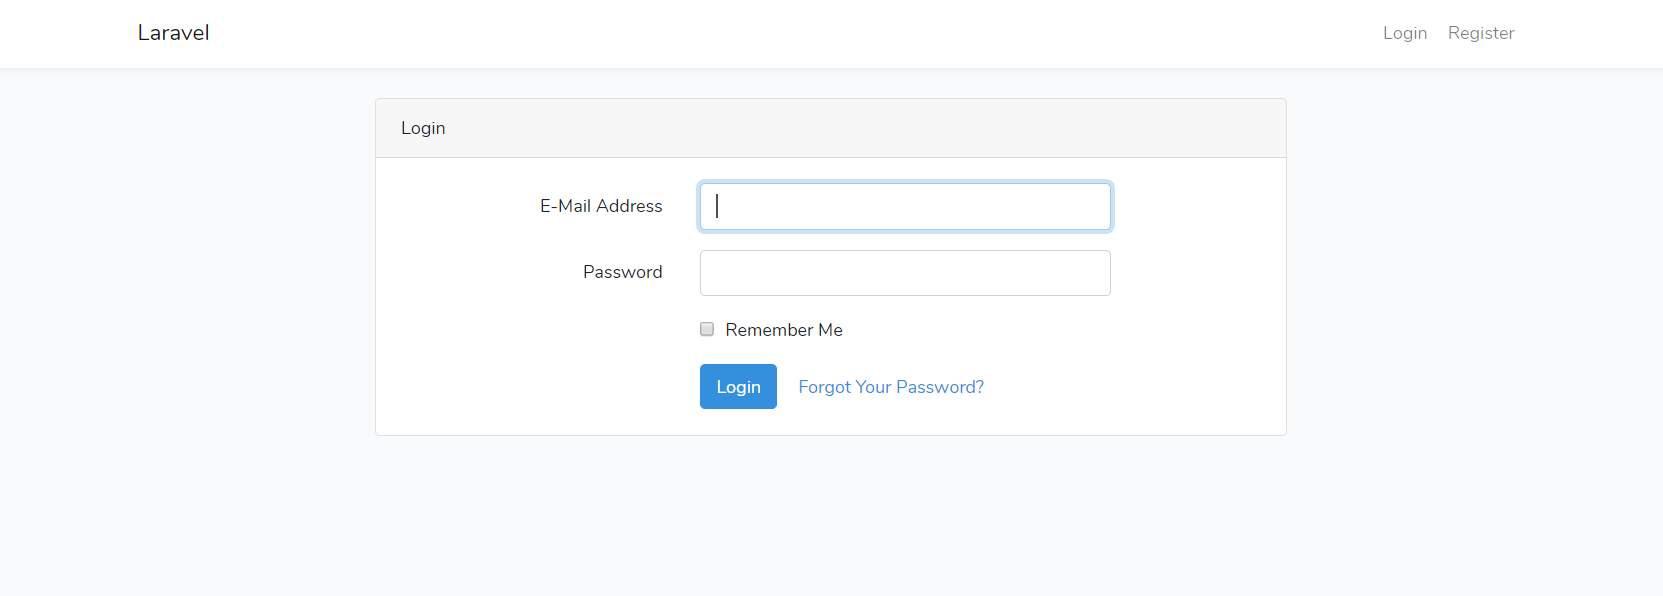
Login Form
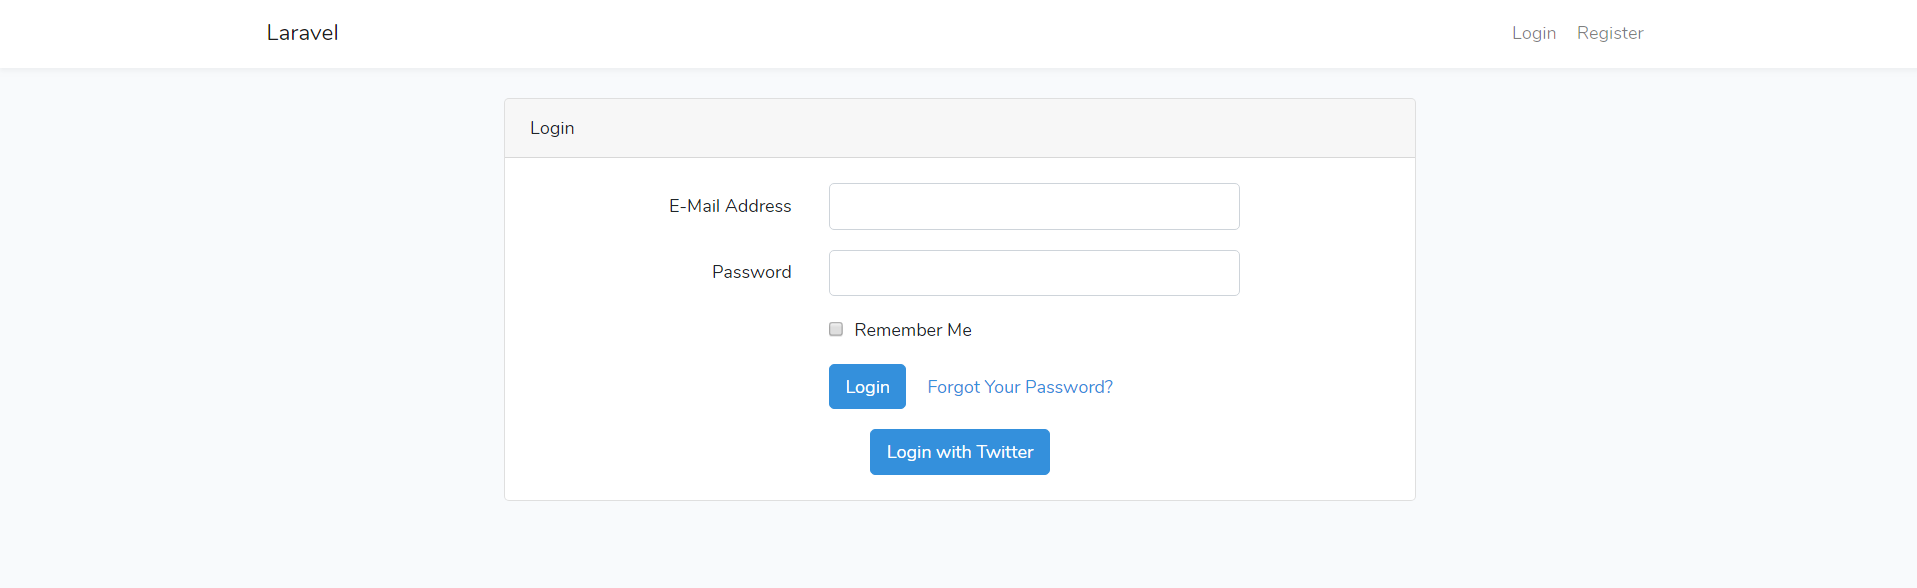
Here, click on the “Login with Twitter” button. Twitter asks you to enter your credentials to Authorize the Twitter App, which we create in our previous steps.
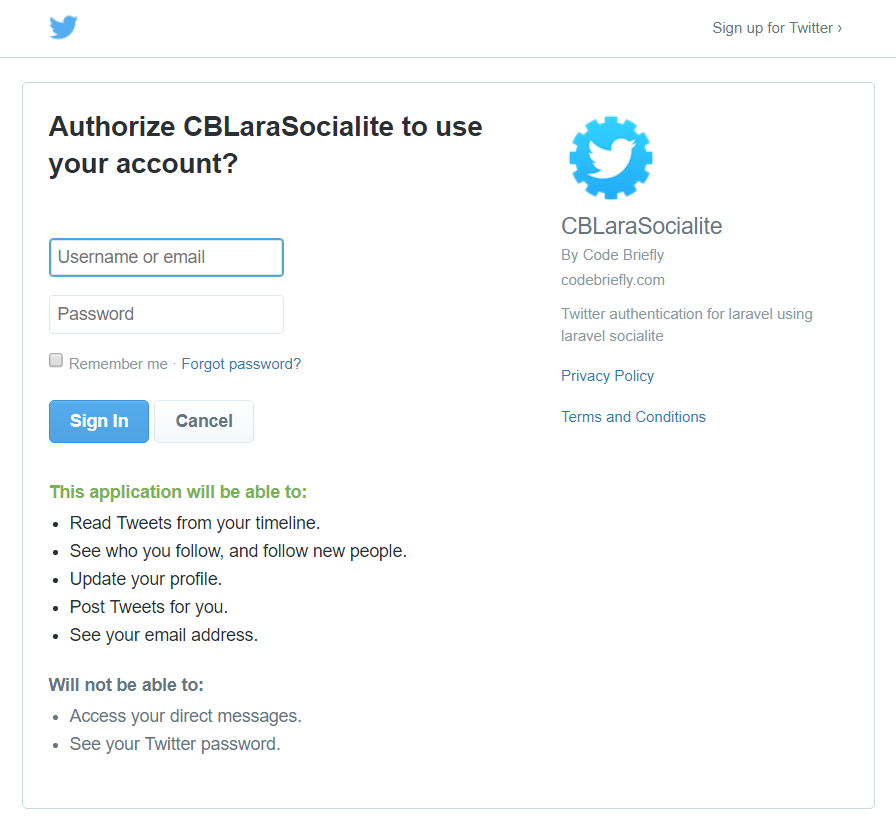
After adding your credentials, successful authentication moves back to our Laravel application.

Conclusion
In this article, we are discussing the “Laravel Socialite Twitter Login”. I’m trying to explain to you each of the required details. We will discuss other platforms such as GitHub, Facebook, Google, GitLab, LinkedIn, and Bitbucket in our future posts. Please feel free to add your comment if any query or submit your feedback 😉
If you like our content, please consider buying us a coffee.
Thank you for your support!
Buy Me a Coffee
Thank for sharing this, and i’m waiting for the part 2 on Bitbucket or LinkedIn 🙂
Just to make sure you’re aware, Twitter does not require an email address to register. With that in mind, you’ll need to be sure they have one registered or throw some messaging to let the user know they don’t have the required information.
where Create a Service to Handle Social Login ? im stuck 🙁
Hi Rizky, Please check this link
Handle Social create it under the app folder